Contract Management
Overview
The Contract Management section in the Sales App is the centralized hub for working with all documents tied to a deal. Whether you need to quickly review a contract, annotate a document, edit merge fields, collect developer signatures, or share documents with purchasers — everything is accessible from the Documents tab. This guide is organized into three main areas: Reviewing Documents through the Document Previewer, Editing Documents in the full Contract Editor, and Managing Documents from the Unit View.
How We Got Here
A deal has been created and you need to manage its associated contracts and documents. Documents may have been generated during the New Deal process, or you may need to create additional documents such as addenda or supporting materials. You are now in the Unit View, looking at the Documents tab.
Document Statuses
Every document follows a lifecycle that tracks its progress from creation through execution. The current status determines which actions are available and how the document behaves when opened.
| Status | Description |
|---|---|
| Draft | The document has been created but not yet shared. Merge fields are still editable in the Contract Editor. |
| Sent | Shared to the Client Portal with no signatures required. Final status for informational documents. |
| Client Signing | Shared for signing and awaiting purchaser signatures. |
| Developer Signing | All purchasers have signed. Awaiting developer signature. |
| Finalized | All required signatures have been collected. The document is fully executed. |
| Cancelled | The document was voided by staff. Can be restored to its previous status. |
| Collapsed | The document was part of a deal that fell through. Can be restored if the deal is reinstated. |
For detailed status transition rules and frequently asked questions, see Document Status Definitions in the Sales FAQs.
A document in Draft status is a non-flattened PDF — its merge fields remain editable as form inputs in the Contract Editor. Once a document is shared and transitions away from Draft, the PDF is flattened and merge fields become permanent. At that point, only annotations (strikethroughs, text comments, and signature blocks) can be added.
Signature Block Types
Signature and initials blocks are configured in your document templates and determine who needs to sign and where:
| Block Type | Purpose |
|---|---|
| Purchaser | Requires signature from one or all purchasers |
| Developer | Requires signature from the developer representative |
| Realtor | Requires signature from the representing realtor |
| Sales Person | Requires signature from the sales person on unit |
For detailed information on configuring signature blocks in your templates, see Signature Fields - PDF Documents.
Part 1: Reviewing Documents — The Document Previewer
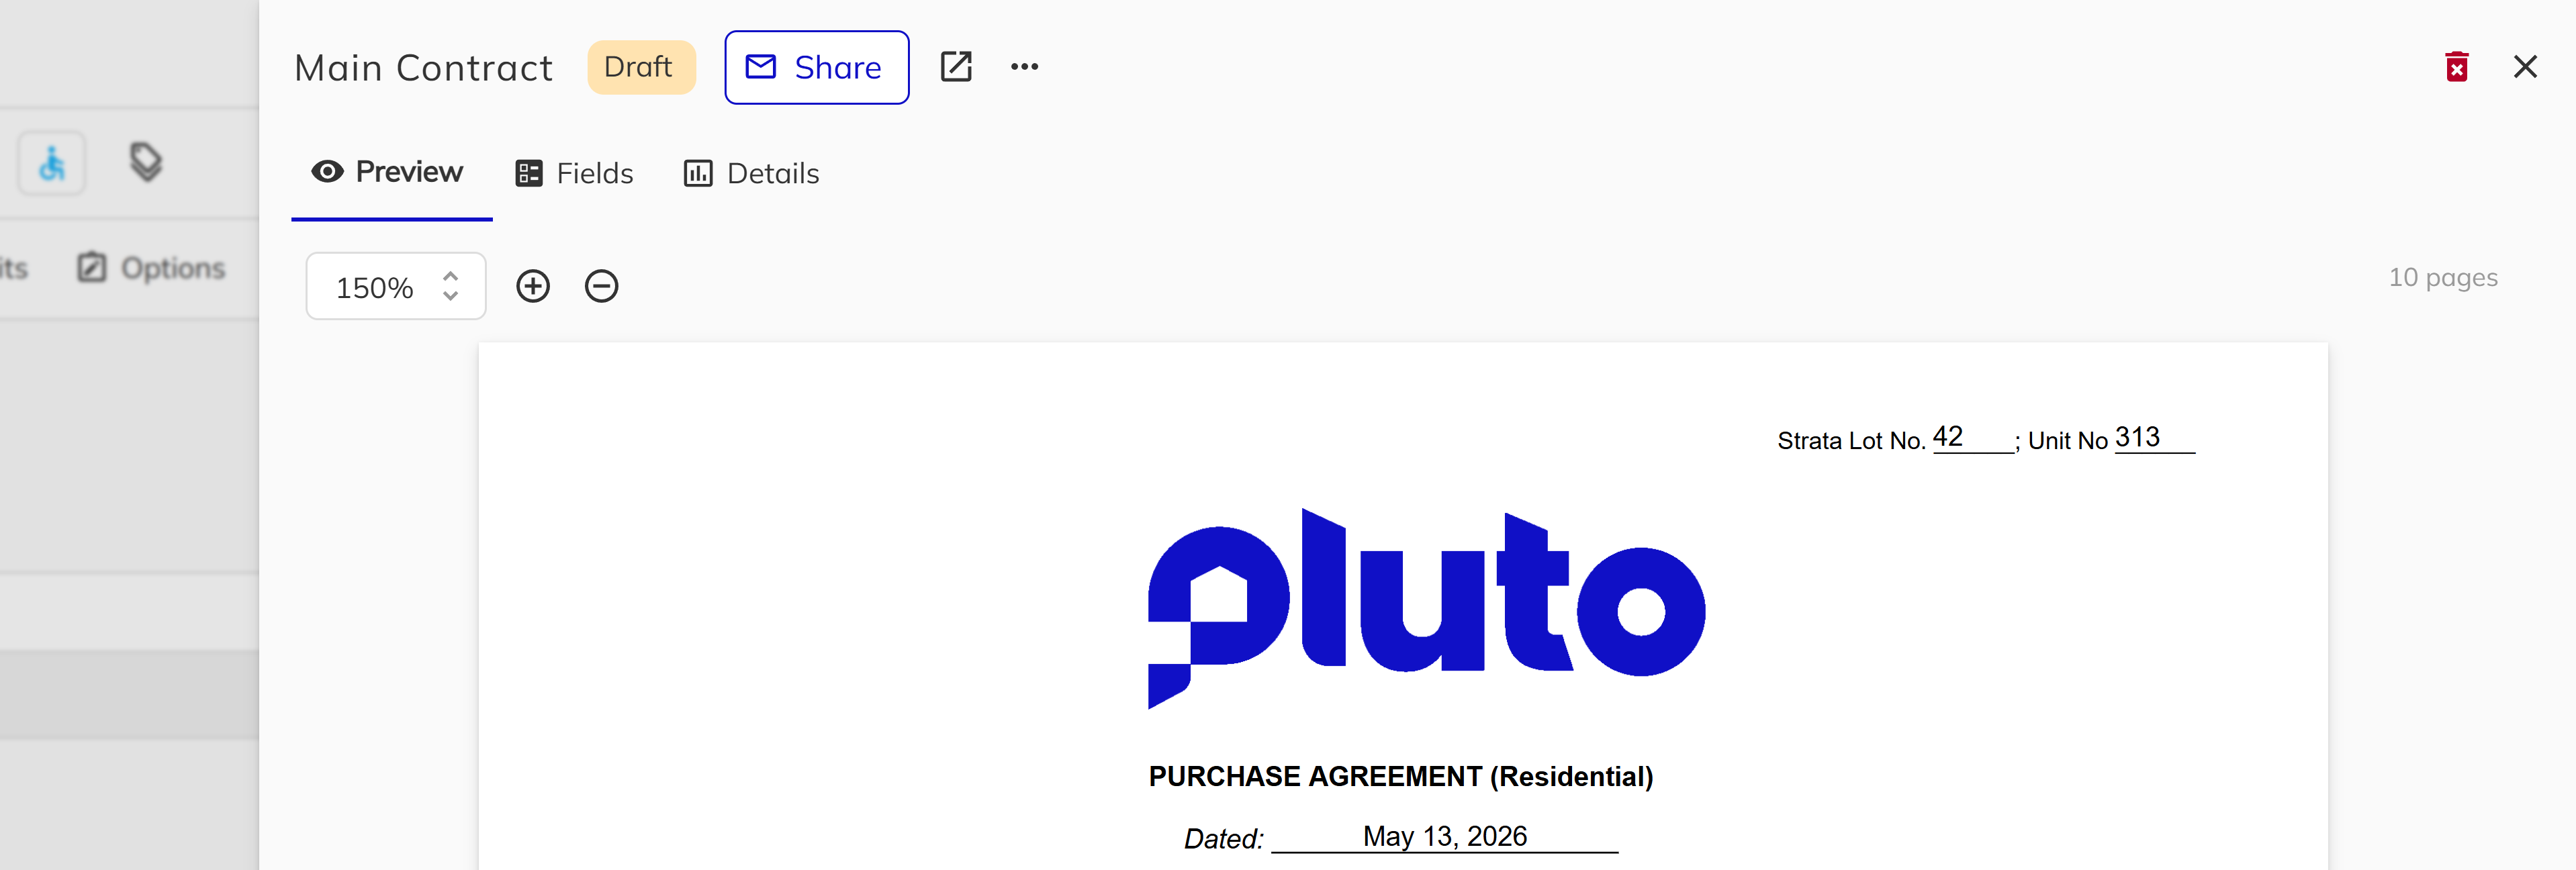
The Document Previewer is a side panel that provides quick access to view and manage documents without leaving your current context. It is designed for fast review, verification, and common document actions.
Opening the Previewer
Left click on any document from the Dashboard, Calendar, or Unit View to open the Document Previewer side panel. The panel displays the full document with zoom controls, page navigation, and quick access to common actions.
Previewer Tabs
The side panel is organized into three tabs:
| Tab | Description |
|---|---|
| Preview | Renders the full PDF with scroll-through pages, zoom controls (75%–200%), and a read-only annotation overlay. |
| Fields | Displays all merge fields extracted from the document in a searchable data grid. |
| Details | Shows document metadata (name, status, file size, created/modified dates, verified by) and a signature blocks grid showing each block's signee, signed status, and page number. |
Quick Actions
The Document Previewer provides quick actions through the menu icon (...) in the panel header. Only the Download:
| Action | Description |
|---|---|
| Share | Send the document to purchasers or realtors. Available only for Draft documents. |
| Download | Download a flattened PDF copy to your computer with all annotations applied. |
| Rename | Change the document's display name. |
| Verify | Mark the document as reviewed and approved by staff. Available for Developer Signing or Finalized documents. |
| Cancel | Void the document so it can no longer be shared or signed. |
| Restore | Restore a previously cancelled or collapsed document to its prior status. |
Verifying a Document
Verification marks a document as reviewed and approved by a developer. Verified documents display a badge showing who verified them and when.
- Left click on the document in a Developer Signing document status to open the Previewer.
- Left click the ... menu icon in the panel header.
- Left click Verify and confirm the action.

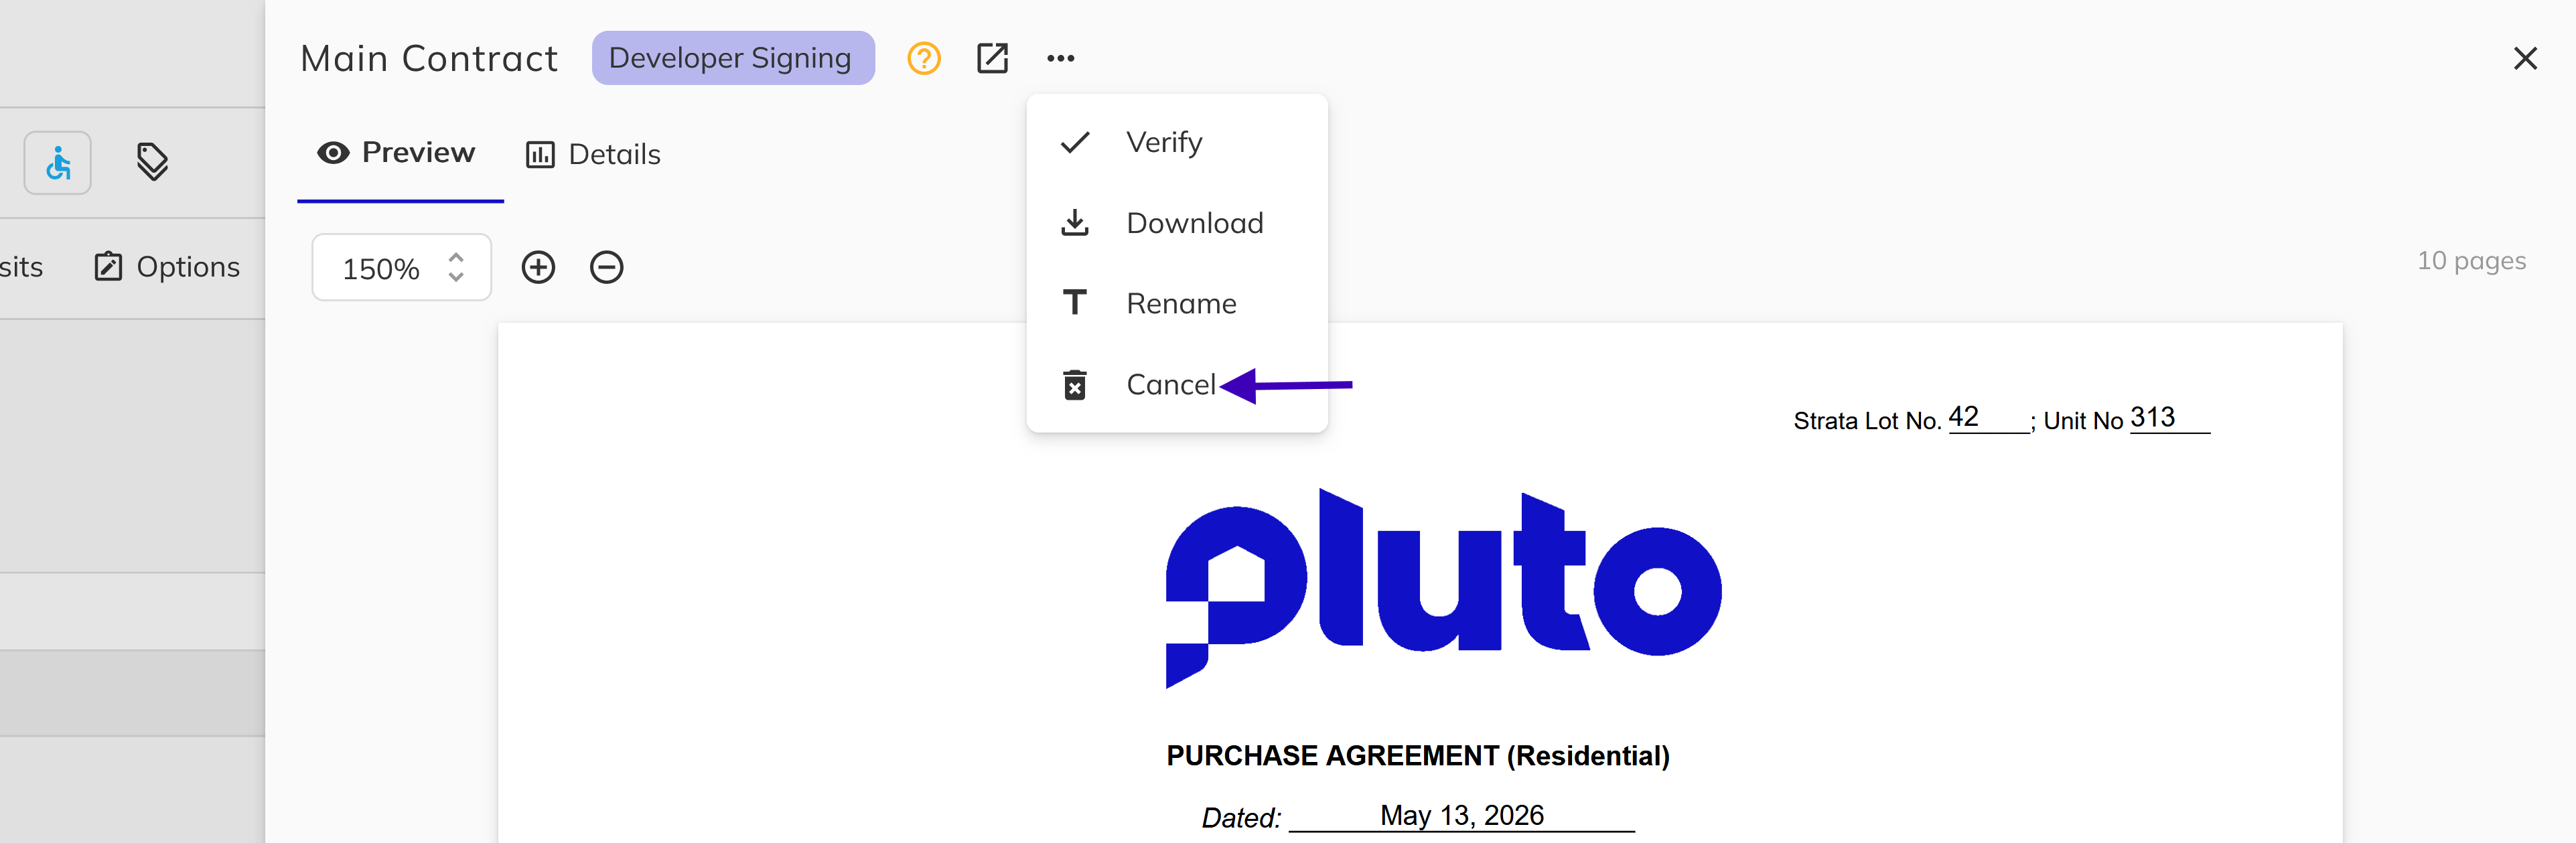
Cancelling a Document
Cancelling voids a document so it can no longer be shared or signed. The document's previous status is preserved so it can be restored later if needed.
- Left click on the document to open the Previewer.
- Left click the ... menu icon in the panel header.
- Left click the Cancel action and confirm.
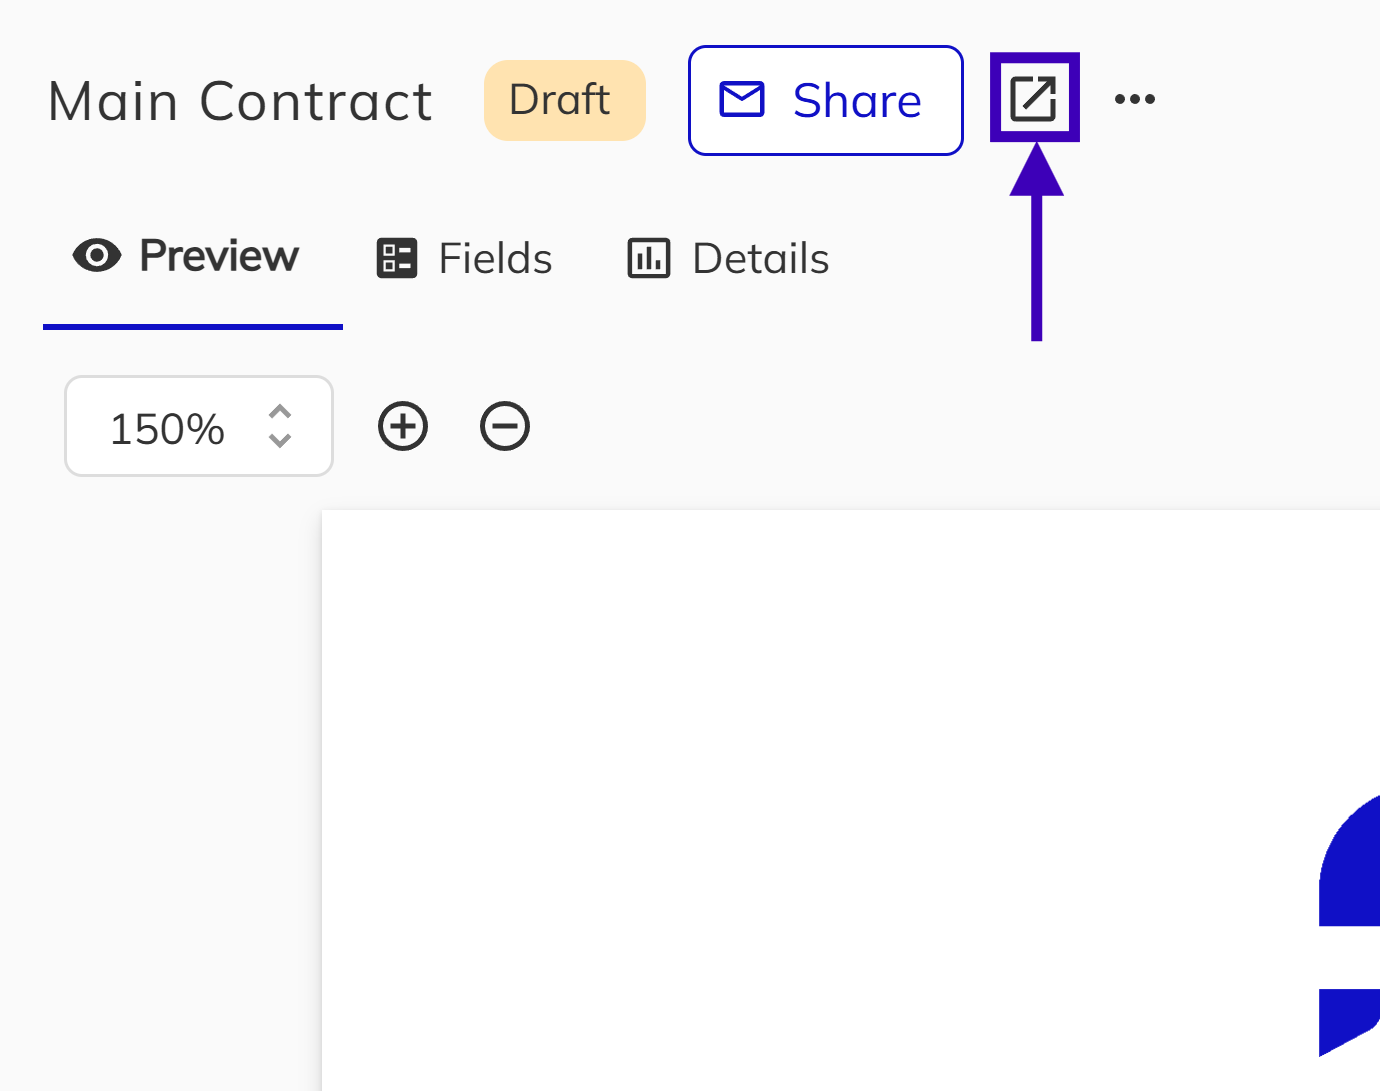
Opening the Contract Editor
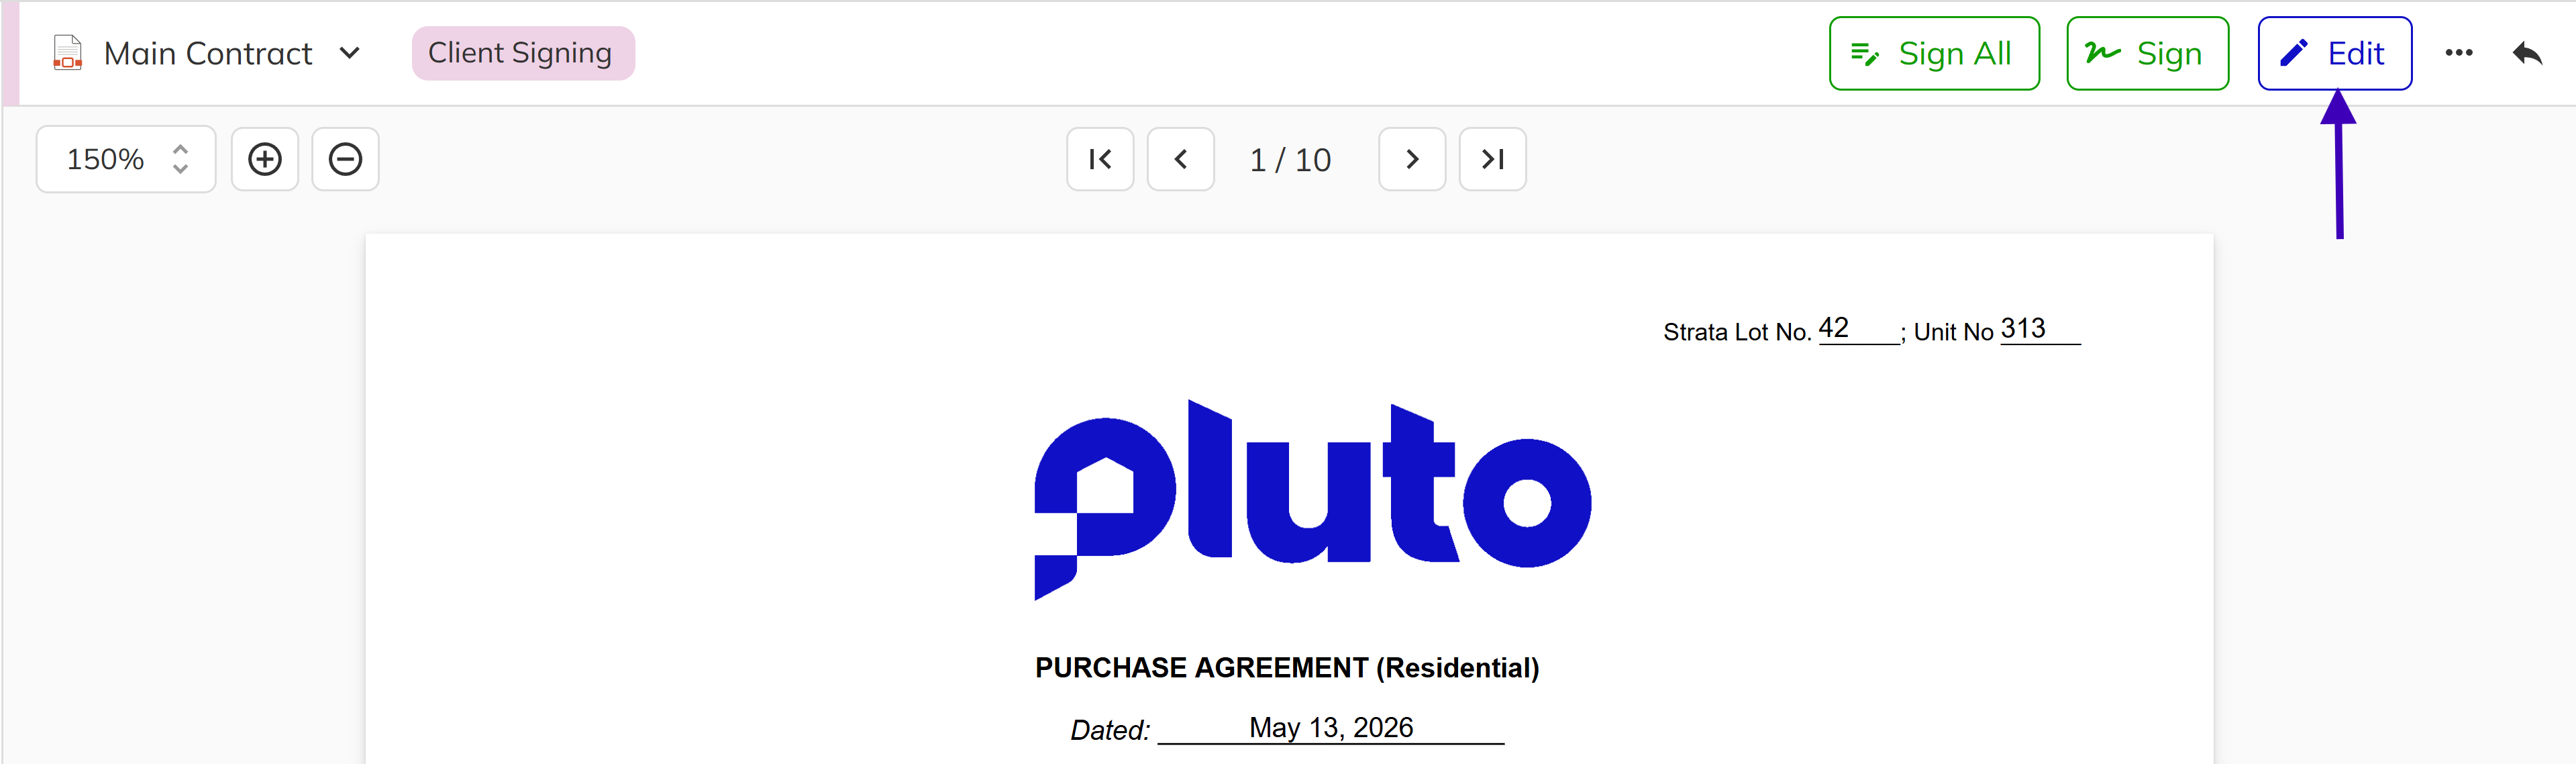
To access full editing, signing, and annotation capabilities, click the Open in "Edit & Sign" mode button in the Previewer header. This opens the full-page Contract Editor.
Part 2: Editing Documents — The Contract Editor
The Contract Editor is a full-page experience for detailed document work. Here you can edit merge fields on Draft documents, add annotations, sign as the developer, and manage document actions. Open the editor by clicking Edit & Sign from the Document Previewer or directly from the Documents tab.
Editor Layout
The editor is split into two areas:
- Sidebar (left) — Collapsible panel with tabbed access to contextual information.
- Document View (right) — The PDF with toolbar actions and page navigation.
Sidebar Tabs
| Tab | Description |
|---|---|
| Unit | View unit details associated with the document. |
| File | View document metadata and a signature blocks grid. Click a block to navigate directly to its page. |
| Merge Fields | Review and inspect all merged field values in the document. |
Editor Toolbar Actions
The Contract Editor toolbar provides access to the following actions:
| Action | Description |
|---|---|
| Sign All | Sign all outstanding developer signature and initials blocks at once. Requires the SalesSignContractAsDeveloper permission. |
| Sign | Enter signing mode to apply signatures to individual blocks. |
| Edit | Enter edit mode to add annotations (strikethroughs, text, signature blocks). |
| Share | Send the document to purchasers or realtors. Available for Draft status documents only. |
| ... | Opens the overflow menu with additional actions: Delete removes the document (available for Draft documents only); Cancel voids the document (available for all non-Draft statuses); Download saves a flattened PDF copy to your computer; Verify marks the document as reviewed and approved (available for Developer Signing documents only). |

Document Lockouts
When you enter edit or sign mode, the system acquires a lockout on the document. This prevents other users from making concurrent changes. If another user has the document locked, a warning banner appears in both the Previewer and the Editor showing who holds the lock.
Lockouts are automatically released when you save, cancel, or close the editor. They also expire after a short period of inactivity.
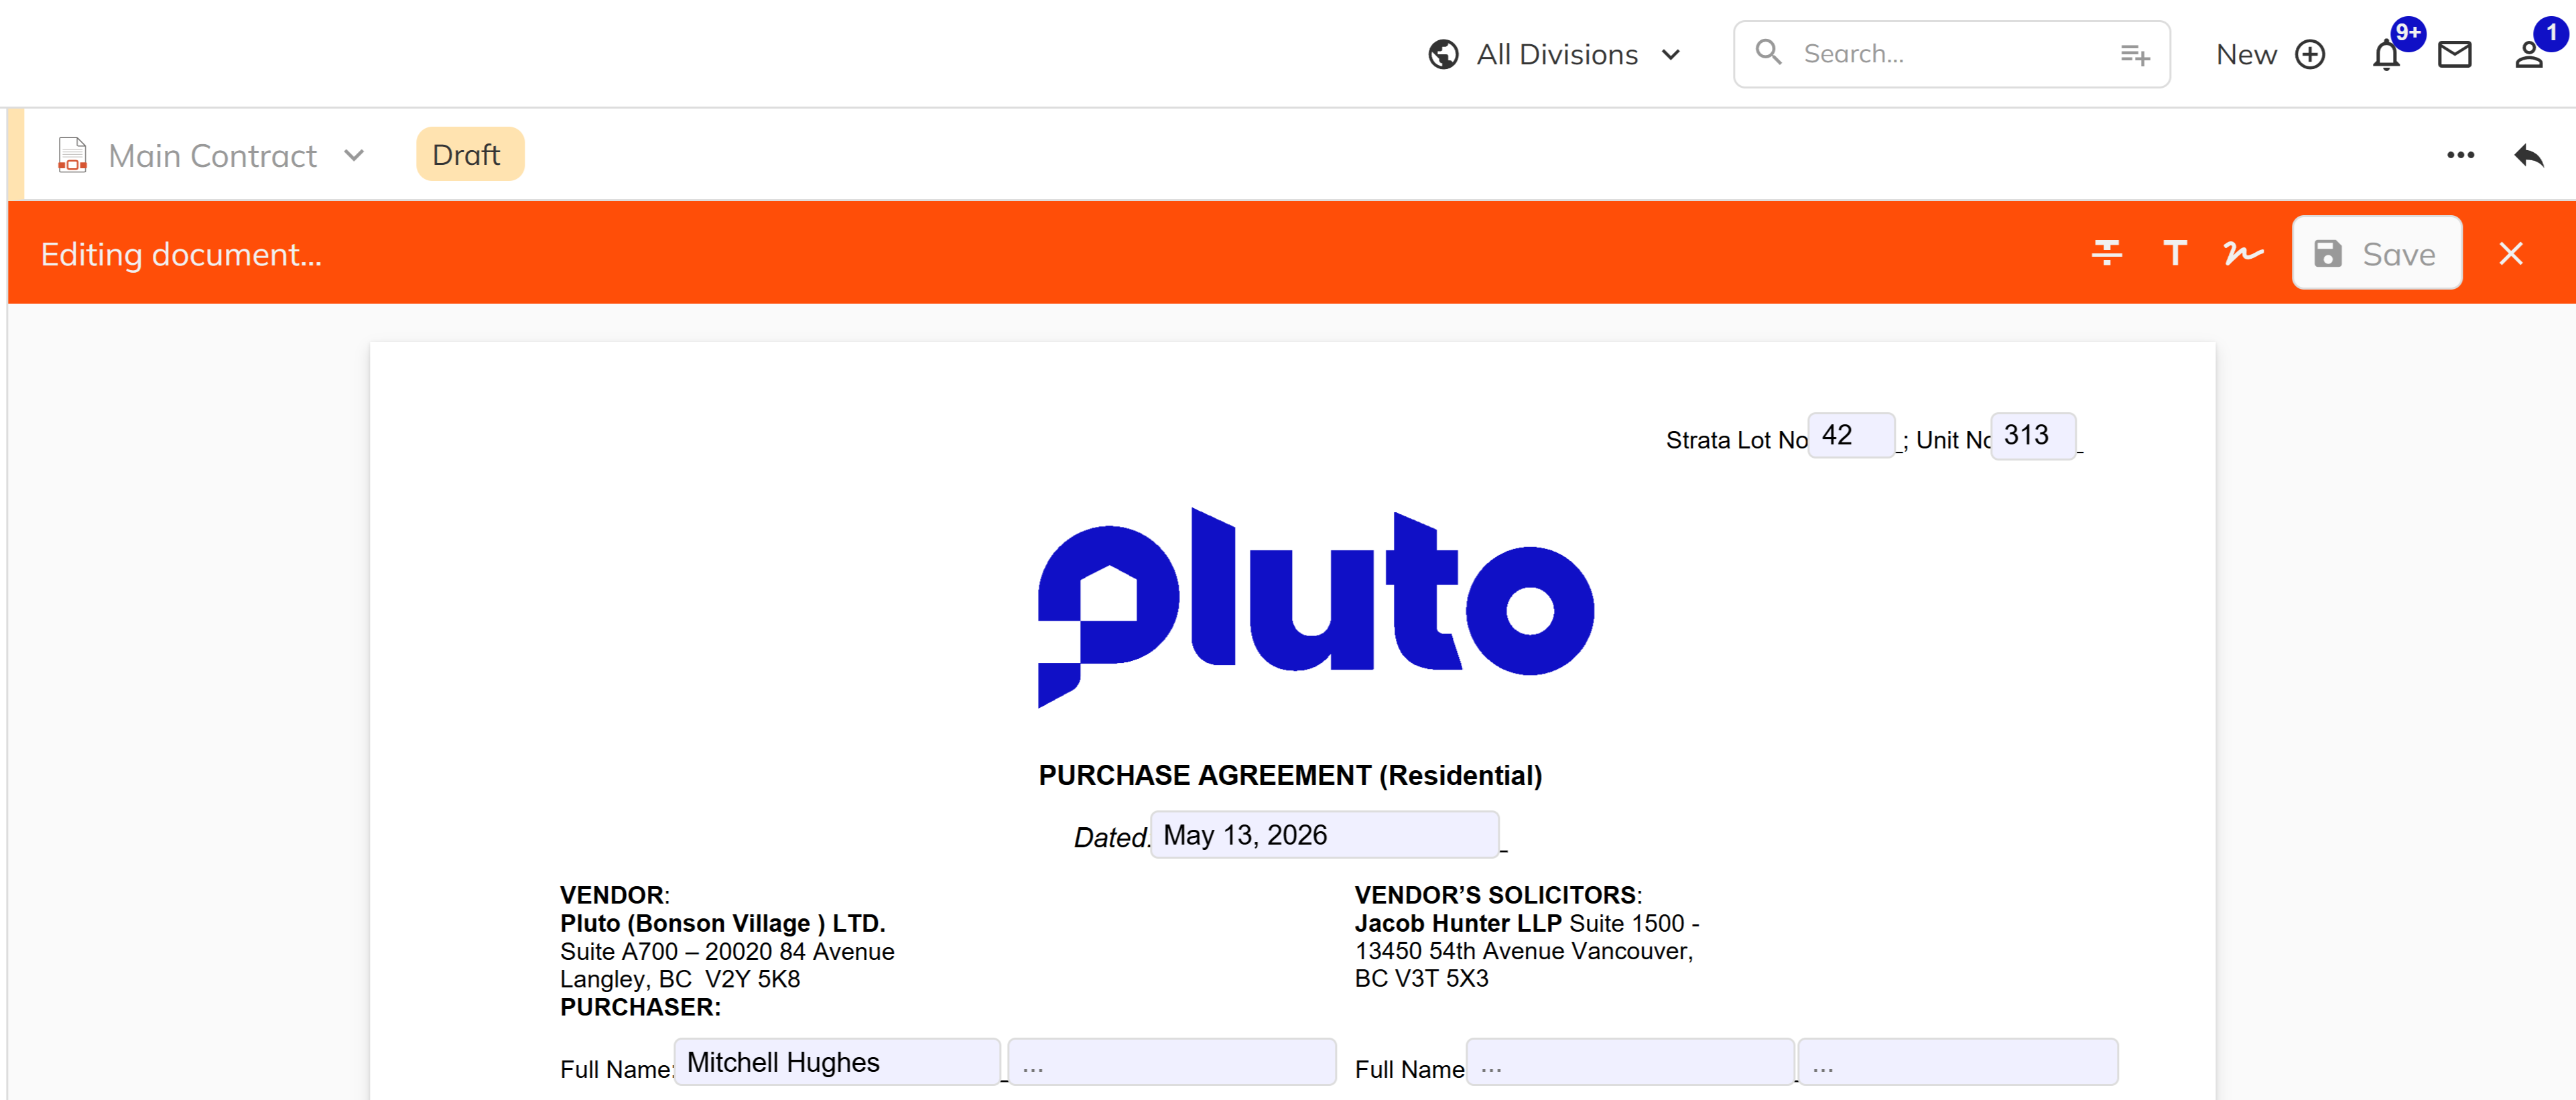
Editing Merge Fields (Draft Documents Only)
When a document is in Draft status, it contains a non-flattened PDF with editable form fields. In edit mode, the editor renders interactive inputs directly over the merge field positions on the document — text fields appear as editable inputs and checkboxes as toggleable controls.
- Open the document in the Contract Editor and click Edit to enter edit mode.
- Locate the merge field you want to change — editable fields are highlighted on the document.
- Left click on a field and type the new value, or toggle a checkbox.
- Left click Save to write the changes to the PDF form fields.
Use the Merge Fields tab in the sidebar to see a complete list of all fields and their current values. This is helpful for reviewing what data was merged into the document.
When you share a Draft document, the system permanently flattens all form fields and annotations into the PDF. Merge fields will no longer be editable after sharing. Make sure all field values are correct before sharing.
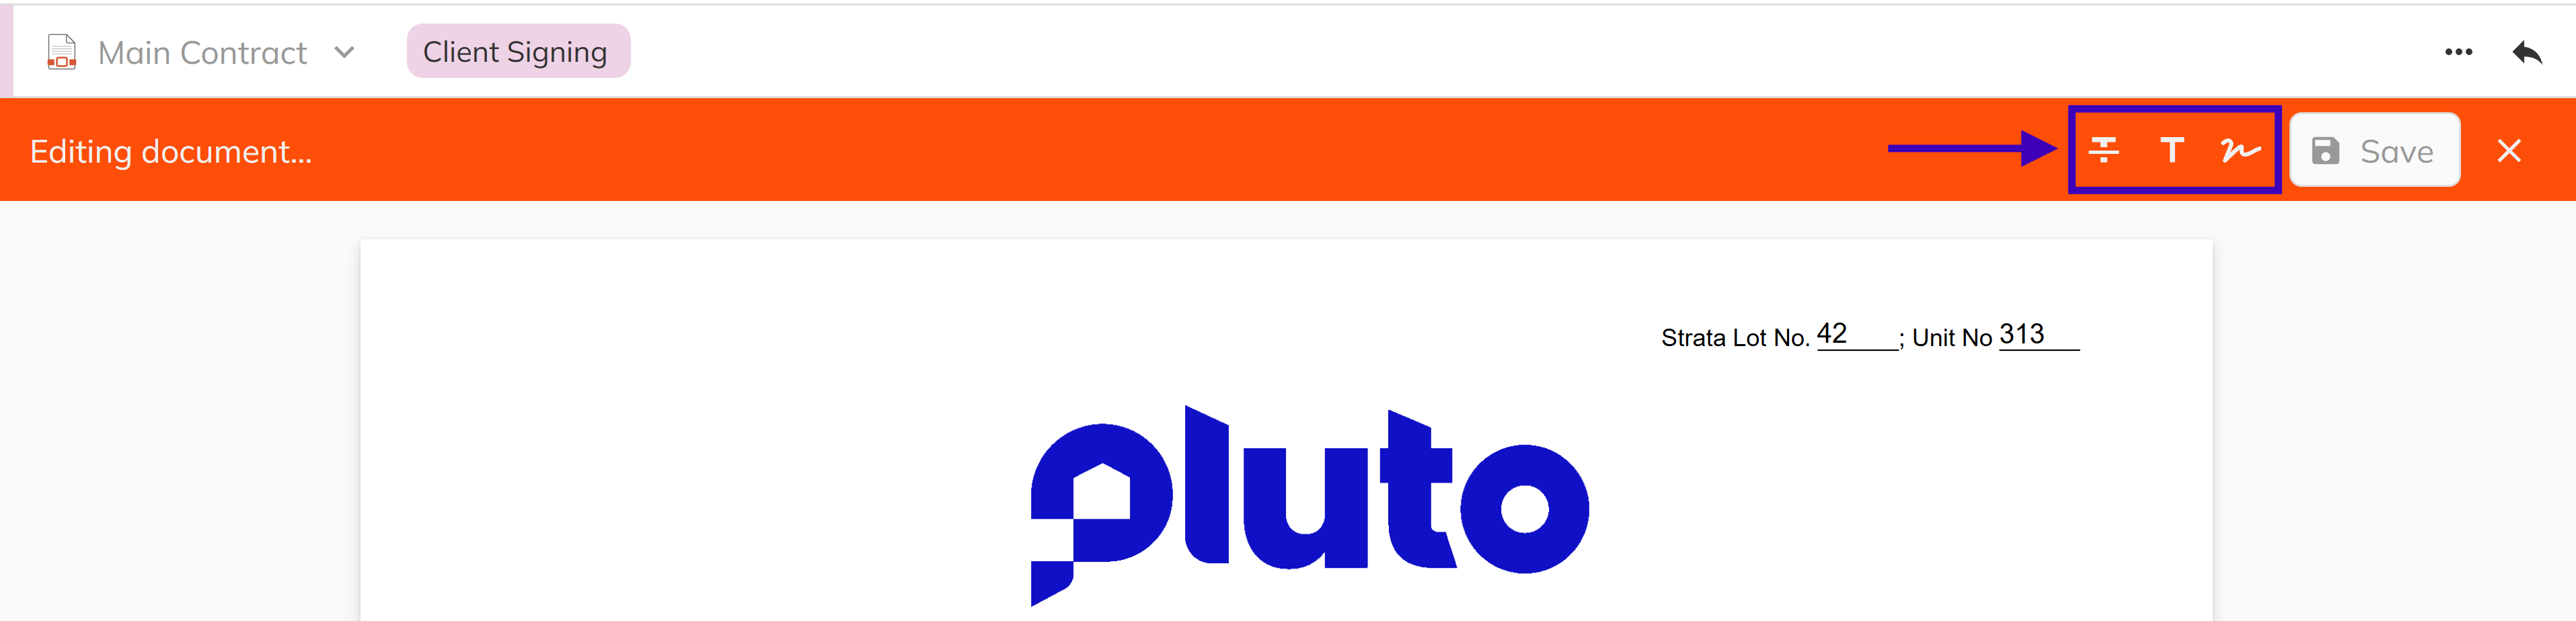
Adding Annotations
Annotations can be added to documents in any status (not just Draft). Left click Edit to enter edit mode and access the annotation toolbar.
Annotation Tools
| Tool | Description |
|---|---|
| Strikethrough | Draw a red line across text to indicate removal. Left click a start point, then click an end point. |
| Text | Place a text comment at a specific location. Left click to position, then type your comment. Supports repositioning and resizing. |
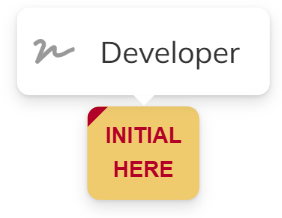
| Signature | Add a new signature or initials block to the document. Select the signee type and whether it is a signature or initials block. |
Placing Annotations
- Left click a tool from the annotation toolbar.
- Left click on the document where you want to place the annotation.
- For Strikethrough, click a start point and then click an end point to draw the line.
- For Text, click to place the text box, then type your comment.
- For Signature blocks, click to place the block and configure the signee type.
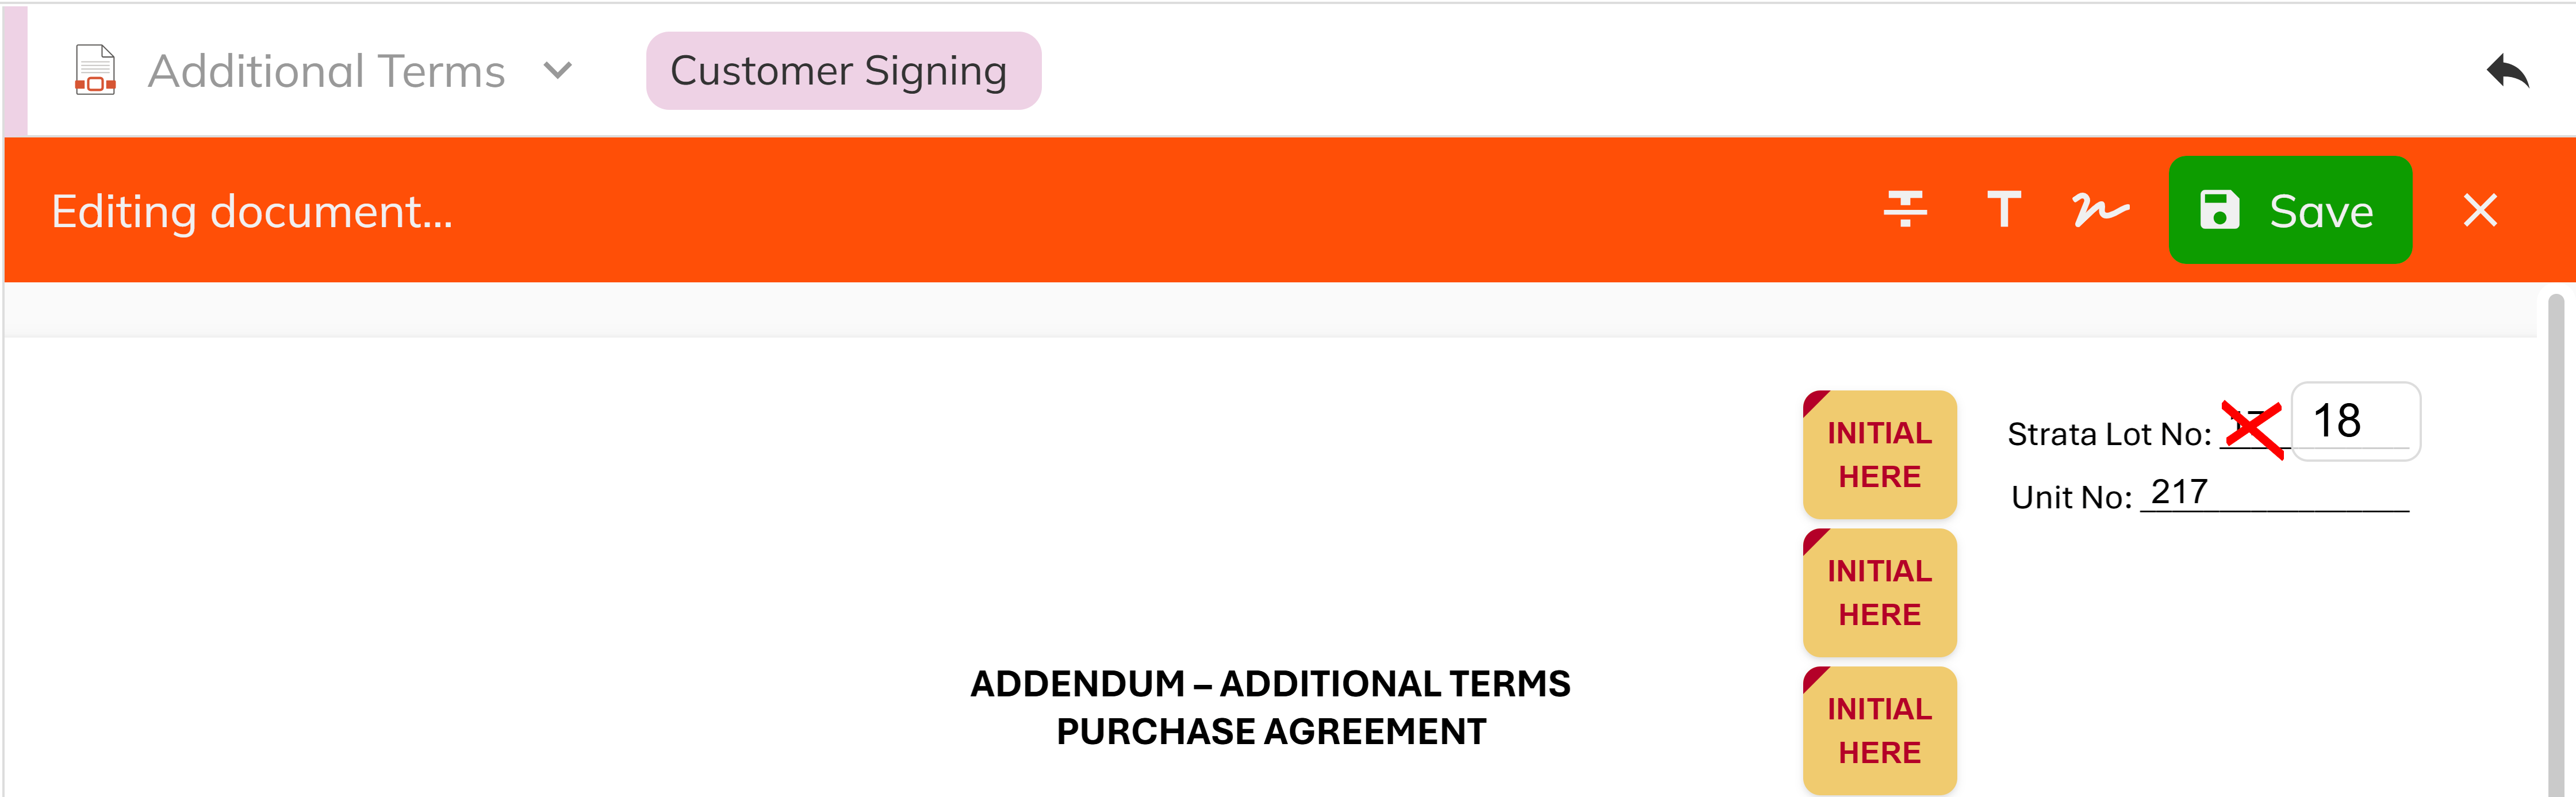
Saving Annotations
After adding annotations, click Save to preserve your changes. How annotations are saved depends on the document status:
- Draft documents — Annotations are saved as separate metadata alongside the PDF. The original PDF remains unmodified and annotations can be removed later.
- Non-Draft documents (Sent, Client Signing, etc.) — Annotations are permanently flattened into the PDF on save. They cannot be removed after saving.
Annotations are visible to purchasers when documents are shared through the Client Portal or Signing Service.
Signing Documents (Developer Signing)
When a document reaches Developer Signing status — meaning all purchaser and realtor signatures are complete — the developer can apply their signatures through the Contract Editor.
Setting Up Signing
Before entering sign mode, the system walks you through a setup workflow:
- Select signees — Choose which signees will be signing (developer, and optionally any remaining customer or realtor blocks).
- Capture signatures — Use the signature collector to draw or upload your signature and initials. Signatures are stored in your session for reuse across multiple documents.
- The system acquires a lockout on the document and enters sign mode.
Sign Mode
In sign mode, a banner displays how many signature and initials blocks remain. Use the Next Block button to automatically navigate to the next unsigned block.
- Left click the Sign button in the toolbar to enter signing mode.
- Left click on each highlighted signature block to apply your signature or initials.
- Use Next Block to jump to the next unsigned block across pages.
- When all blocks are filled, the document is automatically submitted and moves to Finalized status.
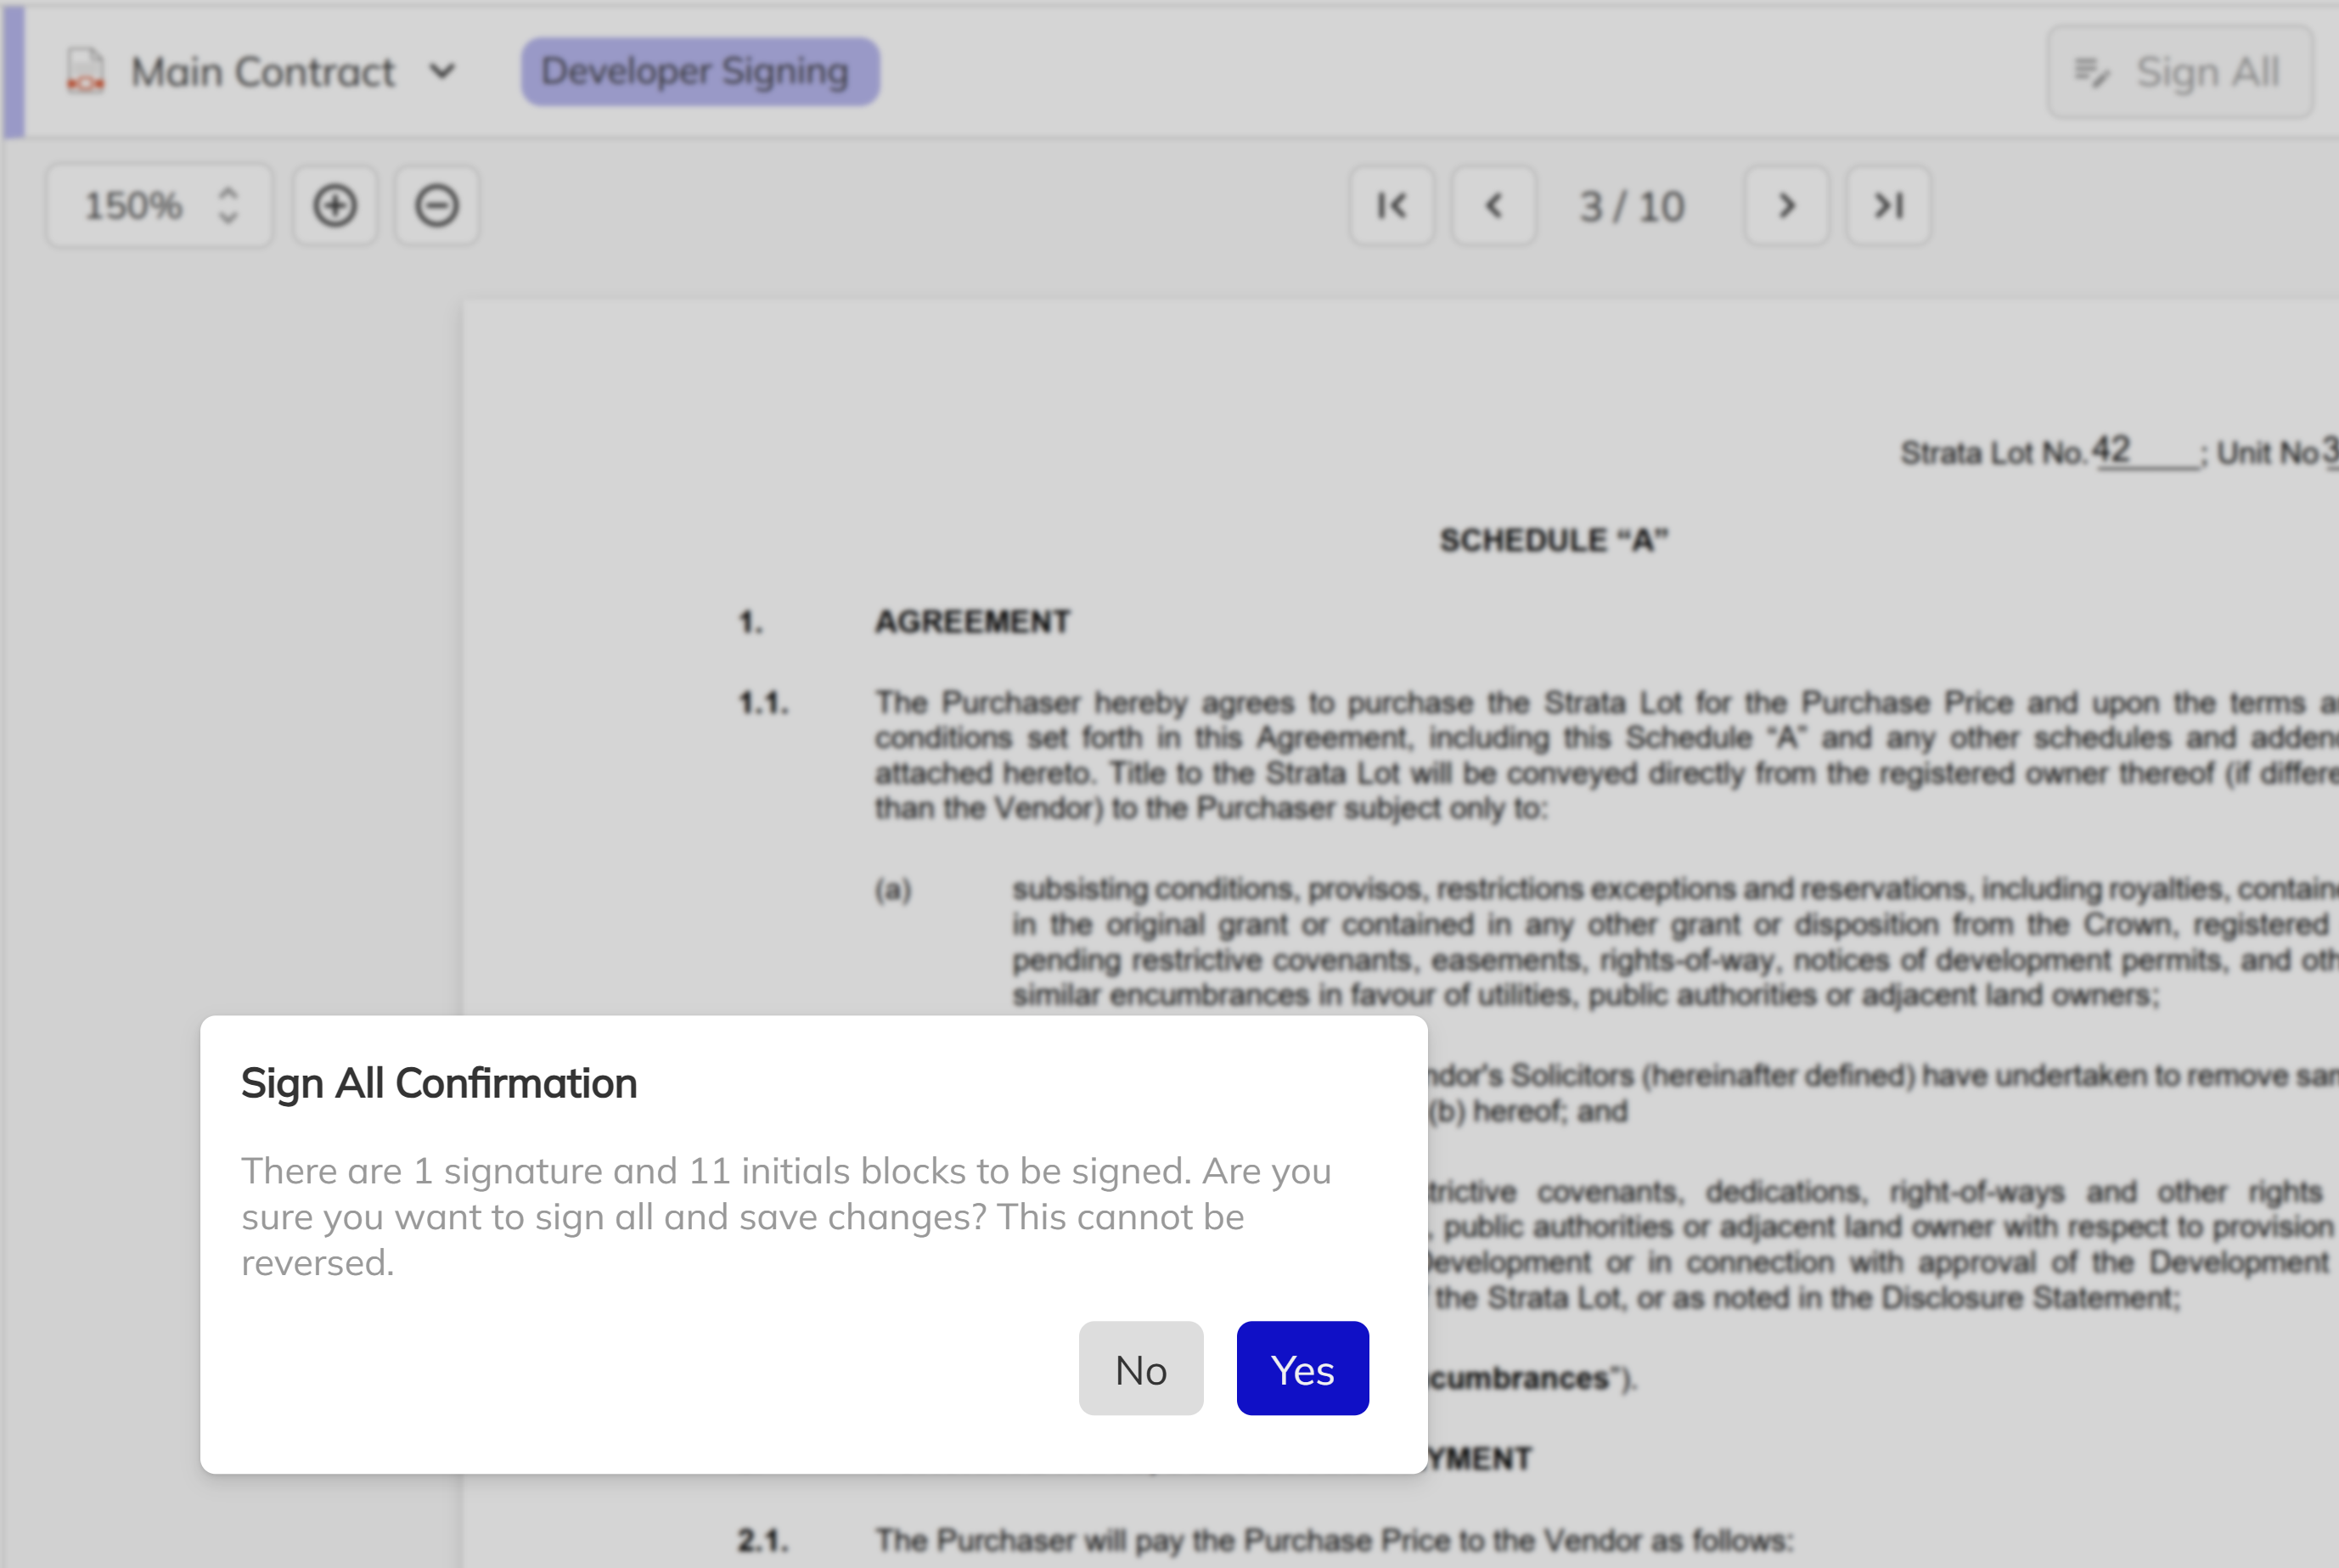
Sign All (Quick Signing)
The Sign All action is a fast path for developers to sign every outstanding developer block at once, without navigating through each one individually.
- Left click Sign All in the toolbar.
- Review the confirmation dialog showing the number of signature and initials blocks that will be signed.
- Confirm to apply your signature to all blocks simultaneously.
- The document moves to Finalized status.
When all developer blocks are signed, the system automatically fills any backfill fields (such as developerSignedDate) with the current date. On the Main Contract specifically, it also fills the contractDate (accepted date) and triggers a Contract Accepted notification.
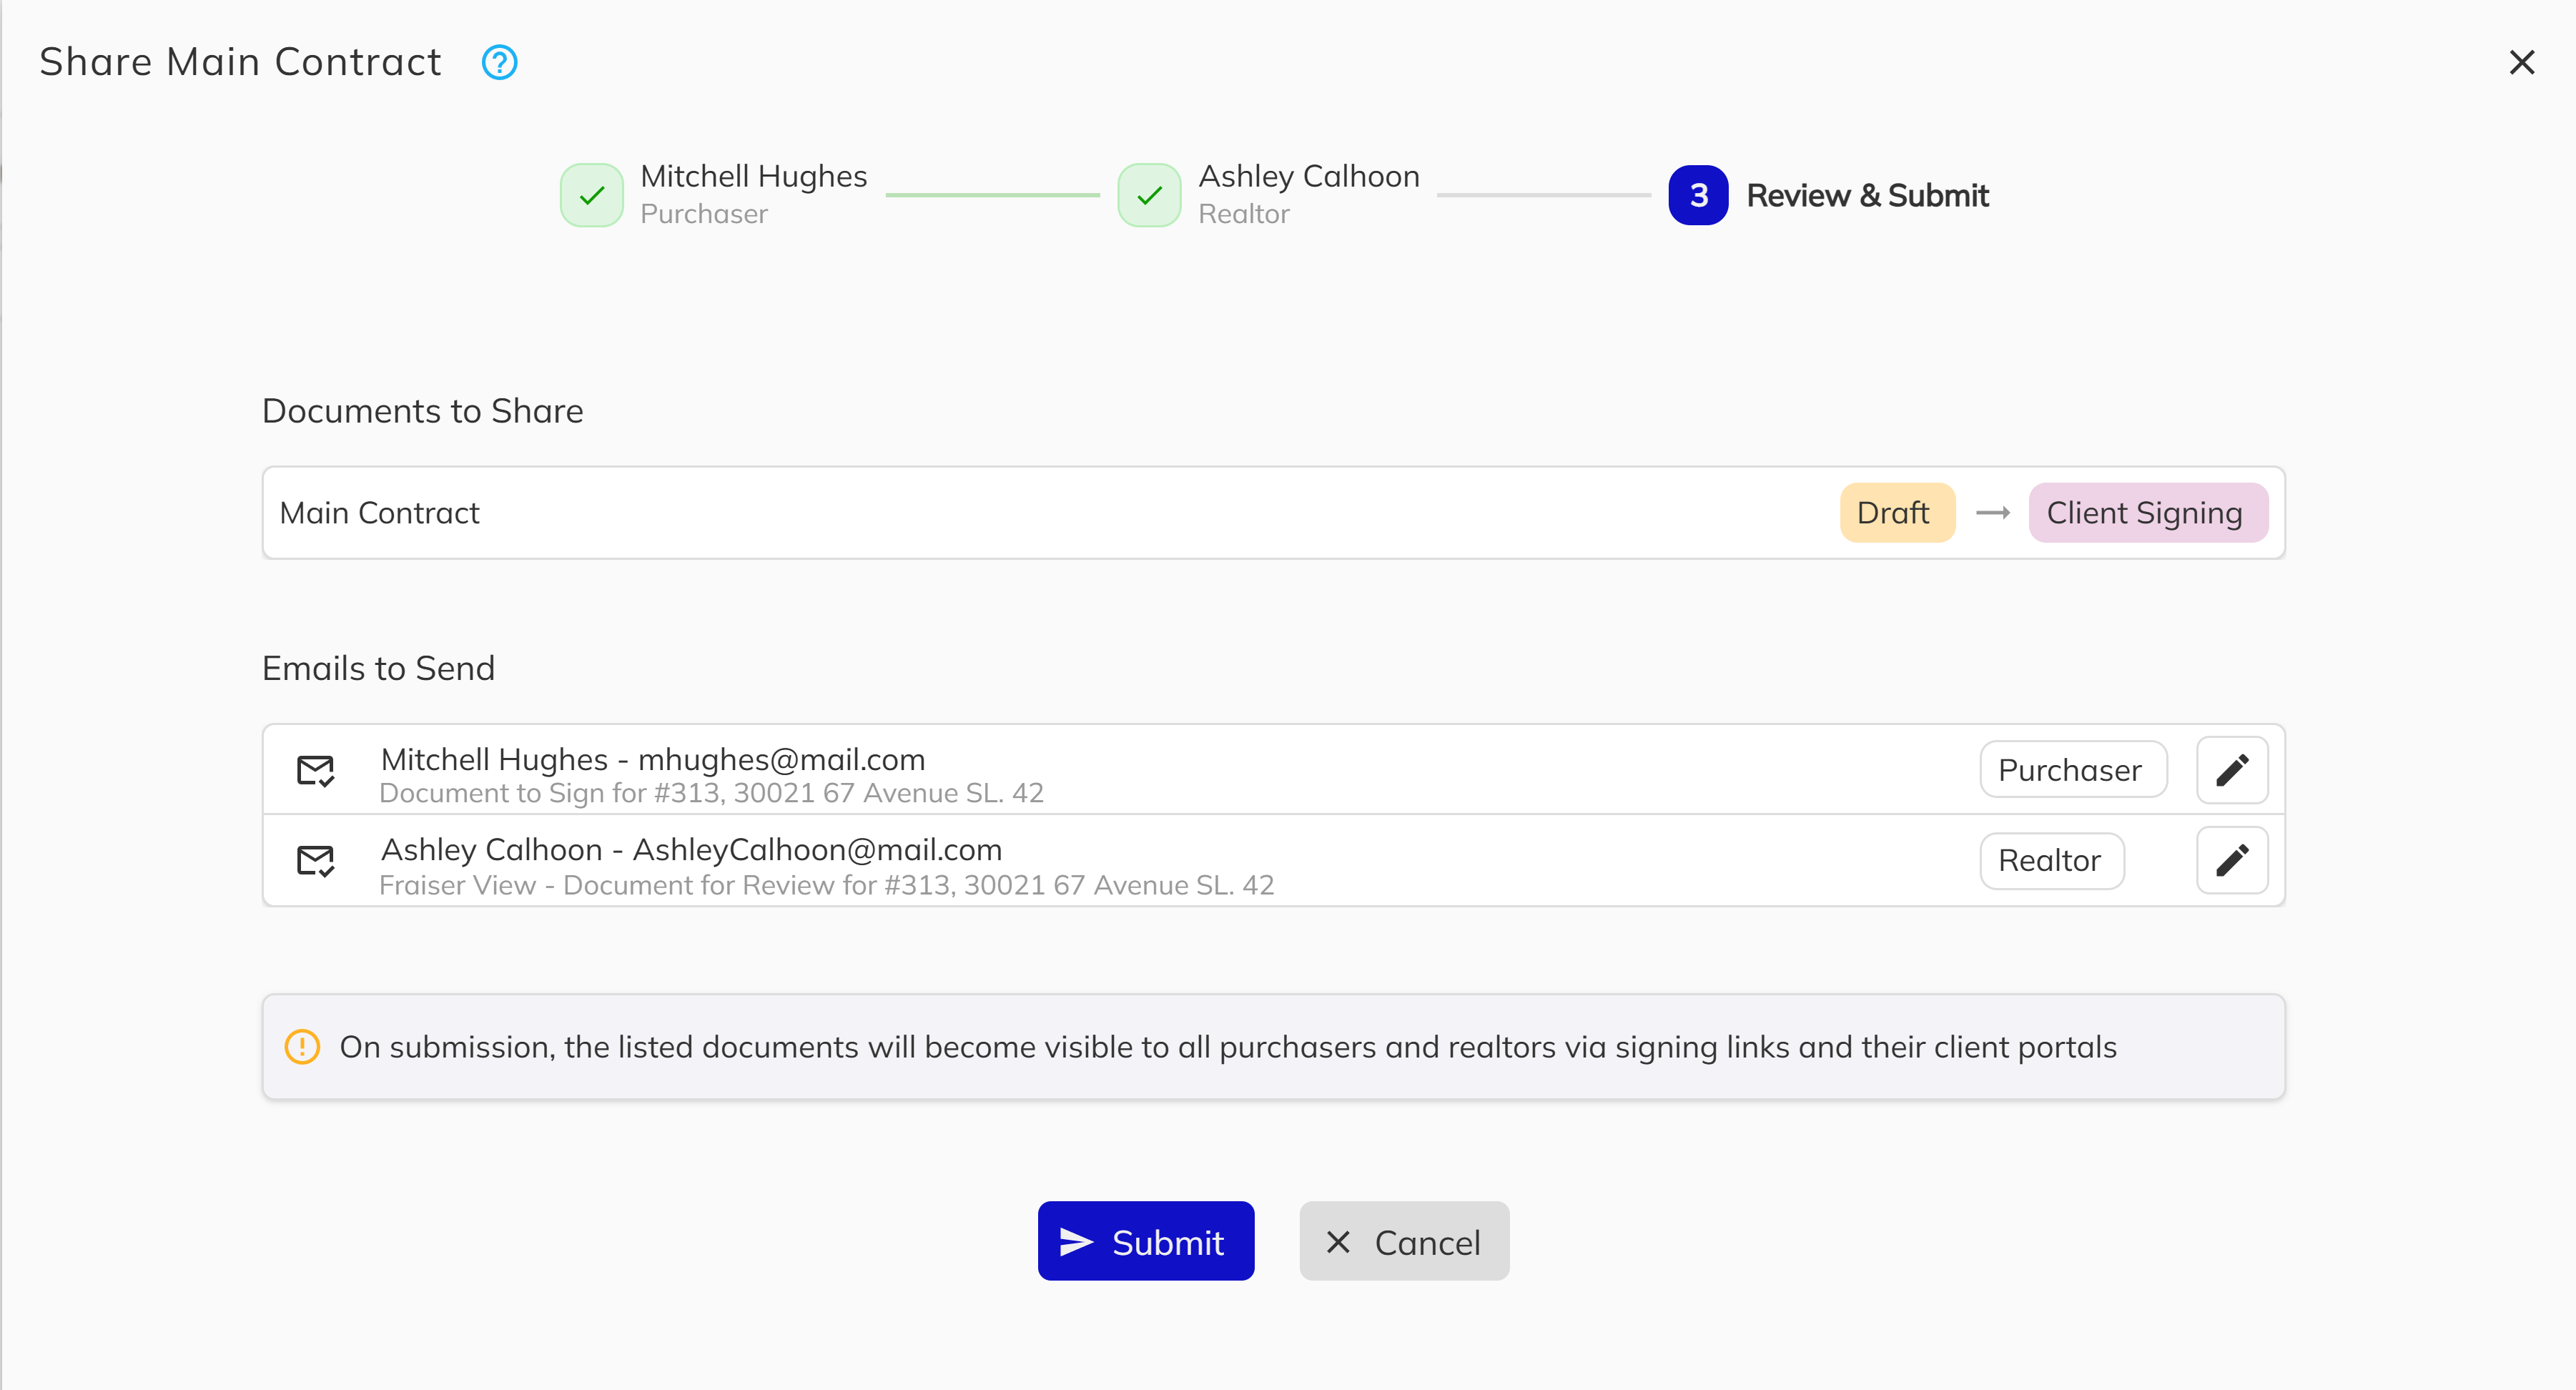
Sharing Documents
The Share action sends a document to purchasers or realtors through the Client Portal or Signing Service. Sharing is available for documents in Draft status.
- Left click Share from the toolbar (or the Previewer's ... menu).

- A side panel appears with a step-by-step guide for configuring recipients and email notifications for the purchaser and/or realtor.

- Review the document details and confirm the emails being sent.
- Left click Submit to share the document.
When shared:
- Staff annotations (strikethroughs and text comments) are permanently flattened into the PDF.
- Form fields are flattened (no longer editable).
- The document status transitions based on its signature blocks:
- Has unsigned purchaser/realtor blocks →
Client Signing - Has only unsigned developer blocks →
Developer Signing - All blocks already signed →
Finalized - No signature blocks →
Sent
- Has unsigned purchaser/realtor blocks →
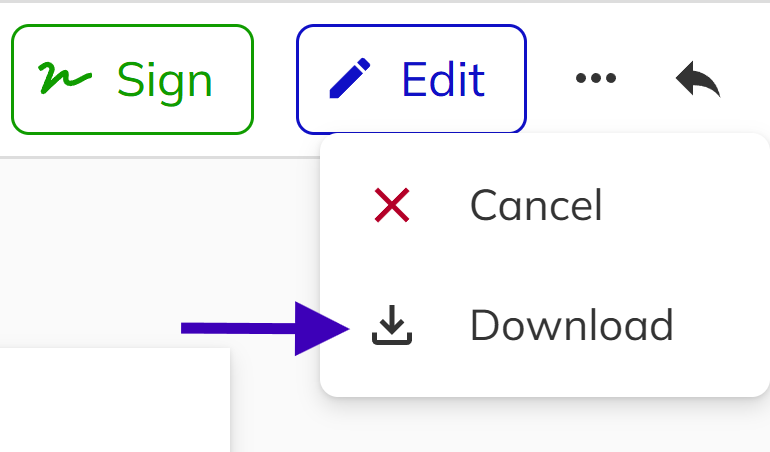
Downloading Documents
Left click the ... icon to select the Download menu item to download a PDF copy. The downloaded file is a flattened copy with all annotations, form fields, and signatures permanently rendered into the document — ensuring it looks correct in any PDF viewer.
Part 3: Managing Documents — The Unit View
The Documents tab in the Unit View is where you manage the full collection of documents for a deal. From here you can create new documents, upload external files, and perform bulk operations across multiple documents at once.
Creating a New Document
Generate a new document from a template:
- Left click Actions and left click New Document.
- Left click a template from the available list.
- Fill in any prompt fields required by the template (e.g., custom text, dates, checkboxes).
- Preview the merged document to verify the content.
- Generate the final document.

Uploading a Document
For documents created outside the system (e.g., externally prepared PDFs):
- Left click Actions and left click Upload Document.
- Left click the PDF file to upload.
- Enter a document name.
- Left click the appropriate document status.
- Left click Upload to add the document to the unit.
Bulk Actions
The Actions menu provides bulk operations for working with multiple documents at once.
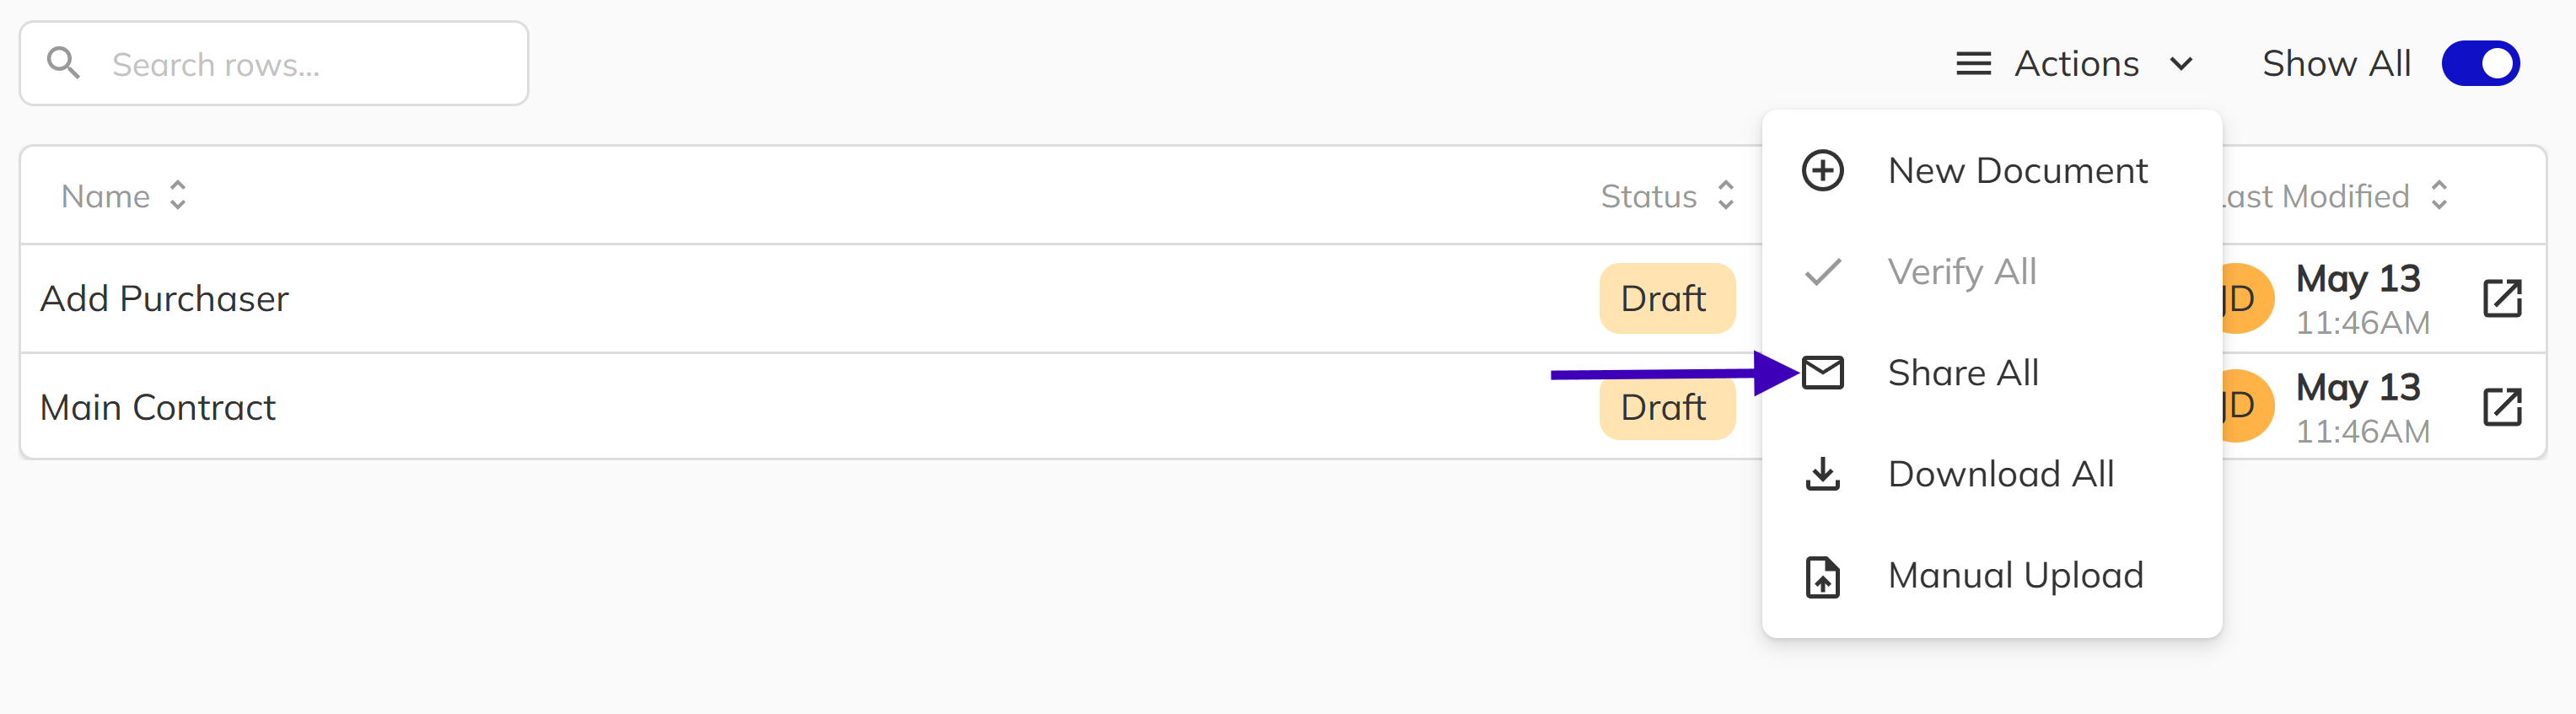
Share All
Share multiple documents at once:
- Left click Actions and left click Share All.
- A side panel appears with a step-by-step guide for configuring recipients and email notifications for the purchaser and/or realtor.
- Review the document details and confirm the emails being sent.
- Left click Submit to share the document.
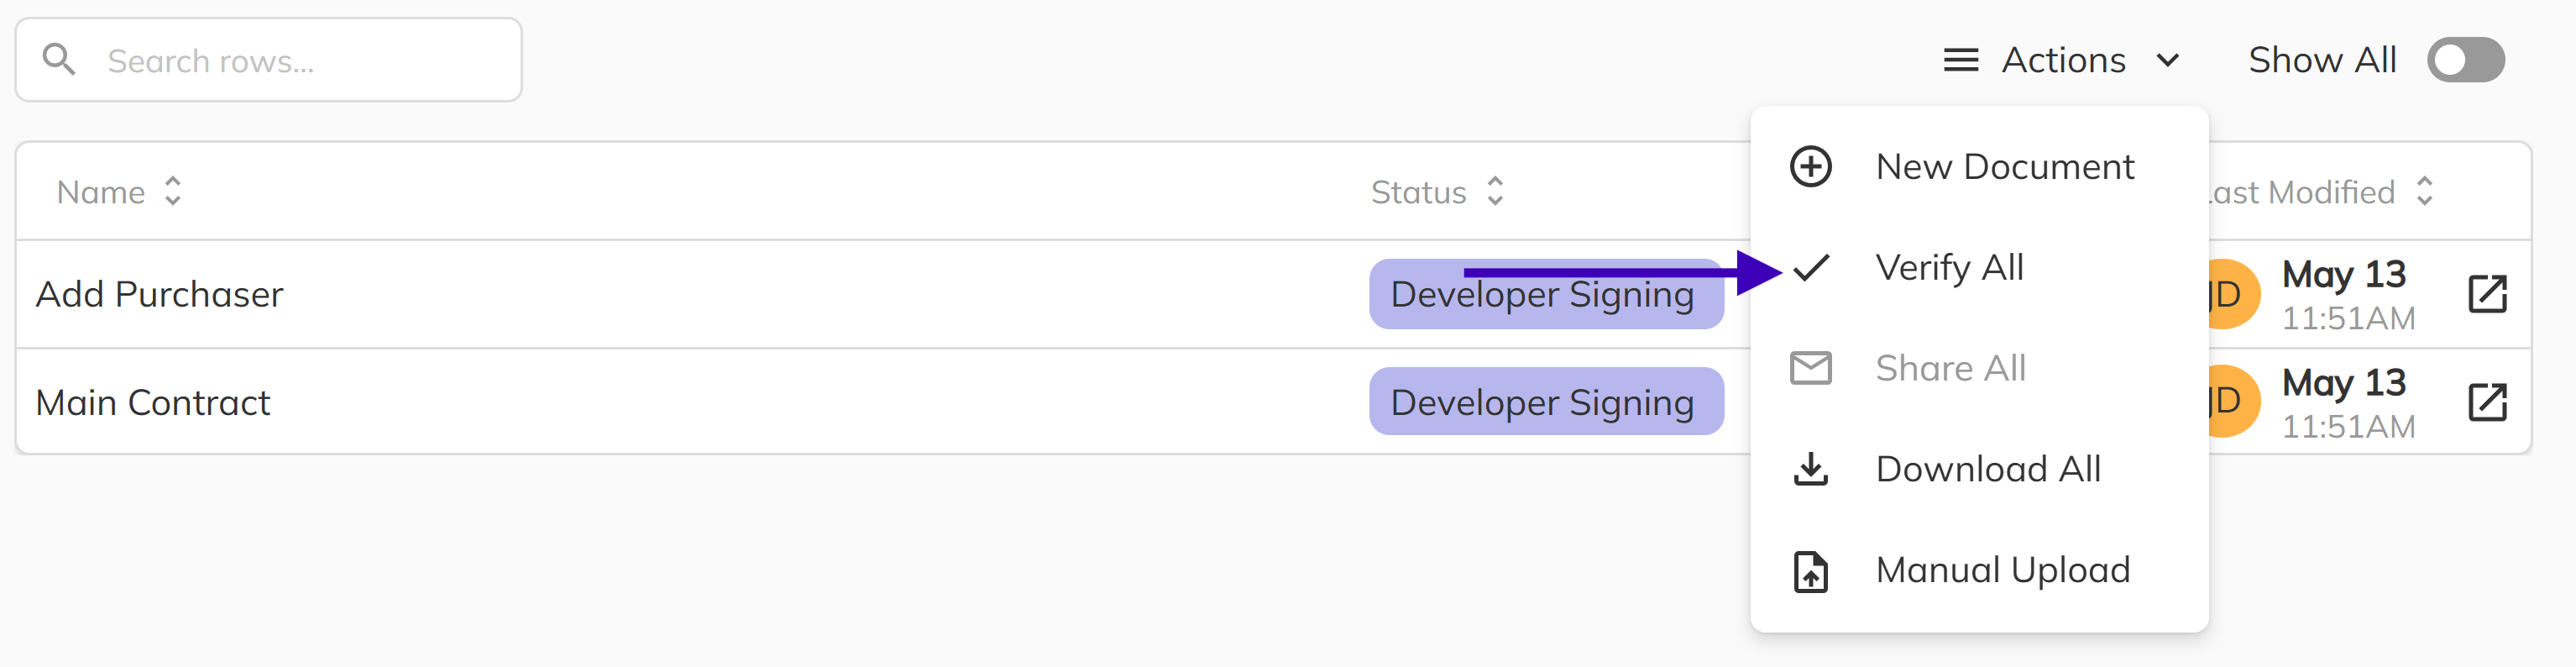
Verify All
Mark multiple documents as verified at once:
- Left click Actions and left click Verify All.
- Confirm the action to verify all eligible documents (those in Developer Signing or Finalized status that have not yet been verified).
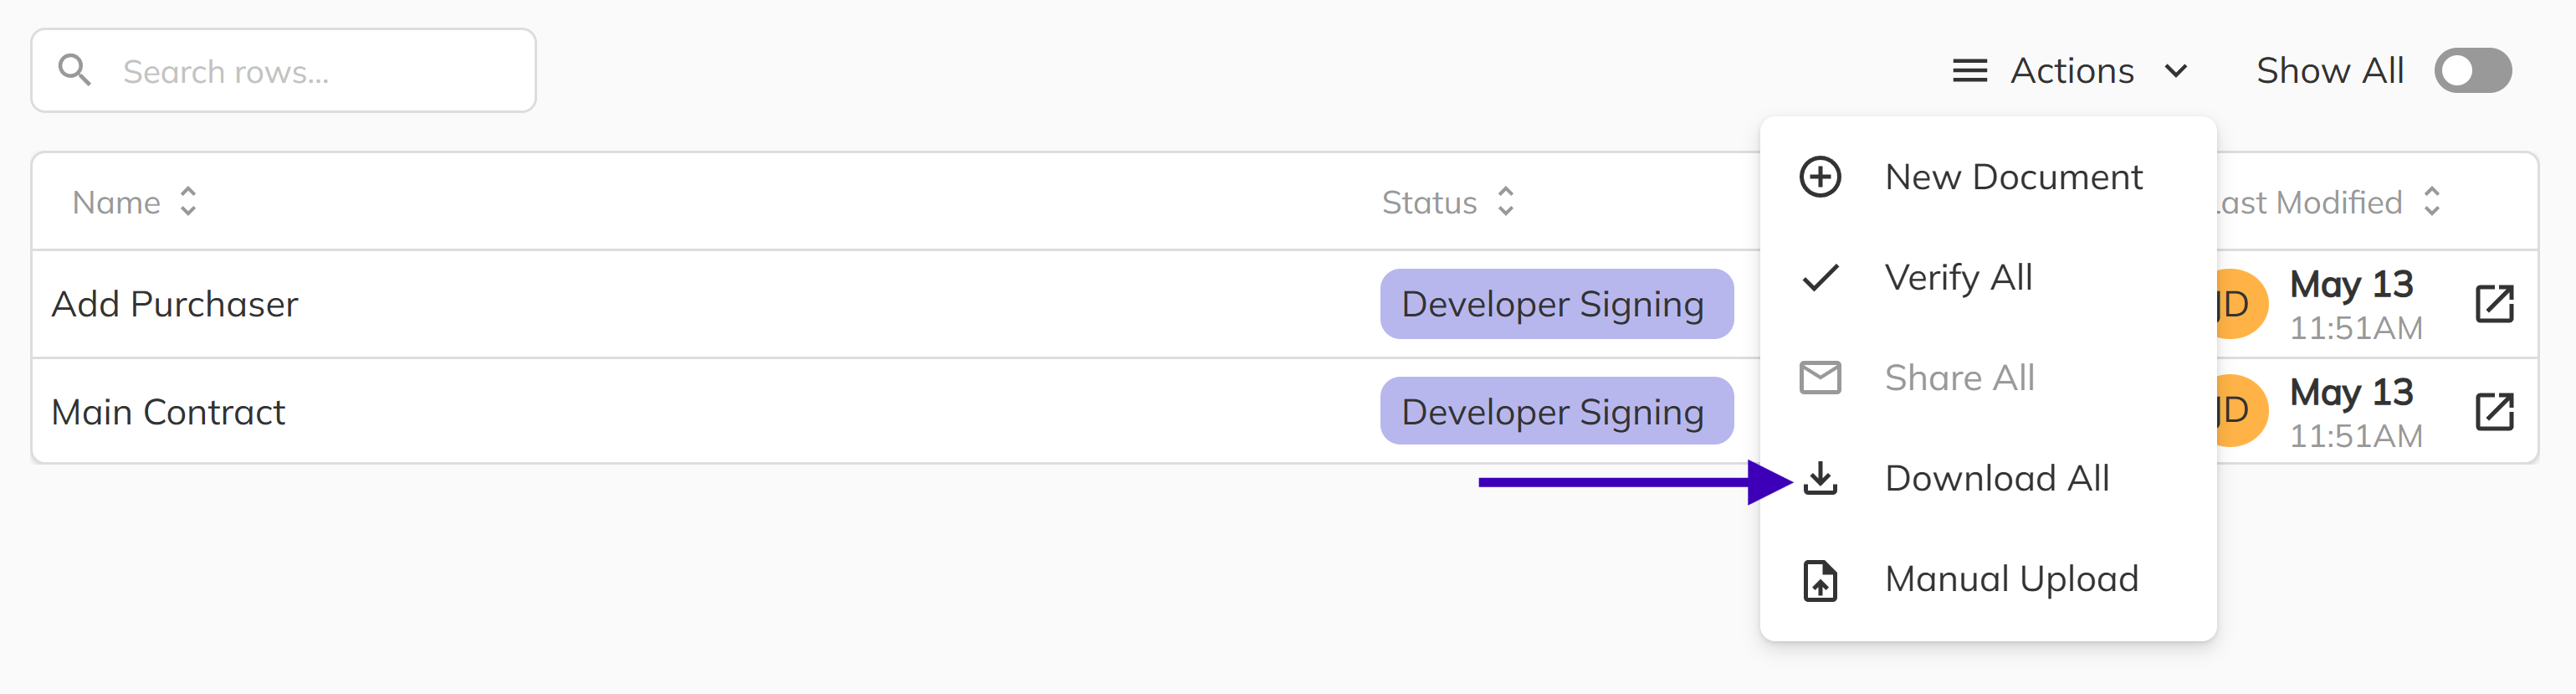
Download All
Download all documents as a ZIP file:
- Left click Actions and left click Download All.
- Left click which documents to include.
- Optionally include the Conveyance Report.
- Left click Download to generate the ZIP file.
Document Workflow Summary
For Documents Requiring Signatures
- Draft — Create the document from a template during the New Deal process or from the Actions menu.
- Review — Open in the Previewer or Contract Editor. Edit merge fields, add annotations, and verify content.
- Share — Send to purchasers for signing. The PDF is flattened and the status transitions to Client Signing.
- Purchaser Signs — Purchasers complete their signature blocks through the Signing Service or Client Portal. Status moves to Developer Signing.
- Developer Signs — Developer completes signature blocks using Sign or Sign All. Status moves to Finalized.
- Verify — Staff marks the fully executed document as reviewed.
For Informational Documents (No Signatures)
- Draft — Create the document from a template.
- Review — Verify content is correct.
- Share — Send to the Client Portal without signatures. Status moves to Sent.
Troubleshooting
Document Not Showing in Client Portal
If a shared document is not appearing in the Client Portal:
- Verify the document status is Sent, Client Signing, Developer Signing, or Finalized.
- Confirm the purchaser is properly linked to the unit.
- Check that the purchaser has access to the Client Portal (see Client Portal Access for testing).
- Wait a few moments for synchronization to complete.
Signatures Not Appearing
If a purchaser reports signing issues:
- Verify the document is in Client Signing status.
- Confirm the purchaser is clicking on the correct signature blocks.
- Check that all co-purchasers have been linked to the unit.
- Review the signing link to ensure it has not expired.
Document Locked by Another User
If you see a lockout warning when trying to edit or sign:
- Check the banner to see which user currently holds the lock.
- Wait for the other user to finish their changes, or ask them to close the editor.
- Locks expire automatically after a short period of inactivity.
Congratulations! You now have a comprehensive understanding of contract management in the Pluto Sales App. From quickly reviewing documents in the Previewer to editing merge fields, adding annotations, signing contracts, and sharing documents with purchasers — you are equipped to manage the full document lifecycle for your deals.
For additional support, contact your system administrator or reach out to Pluto Systems support.