Reservation Process
Reservations are a critical step in the home-buying journey, allowing buyers to secure their interest in a specific unit before finalizing a sales agreement. Pluto Systems provides two primary methods for creating reservations: staff-assisted reservations through the Sales App and self-service reservations through Customer Connect. This guide walks you through both processes, helping you understand when to use each method and how to successfully complete a reservation.
In this guide, we will cover:
- Creating reservations through the Sales App for staff-assisted workflows
- Understanding the Customer Connect self-service reservation journey
- Managing deposits and appointments
- Troubleshooting common reservation issues
How We Got Here
A potential purchaser or realtor has expressed interest in a specific unit. They may have browsed available inventory, attended a sales event, or received a targeted marketing link. Now it's time to secure that interest with a formal reservation. Depending on the situation, this can be done by a sales representative using the Sales App or by the customer/realtor directly through Customer Connect.
Part 1: Reserving Units in the Sales App
The Sales App allows sales staff to create reservations on behalf of customers during in-person meetings, phone calls, or sales events. This method is ideal when working directly with purchasers who need assistance or prefer a guided experience.
Navigating to the Reserve Action
1. Launch the Unit Manager
Open your browser and navigate to your Pluto Systems Sales App. Once logged in, open the side menu and click Unit Manager to view all available units across your communities. The Unit Manager is your central hub for viewing and managing inventory.
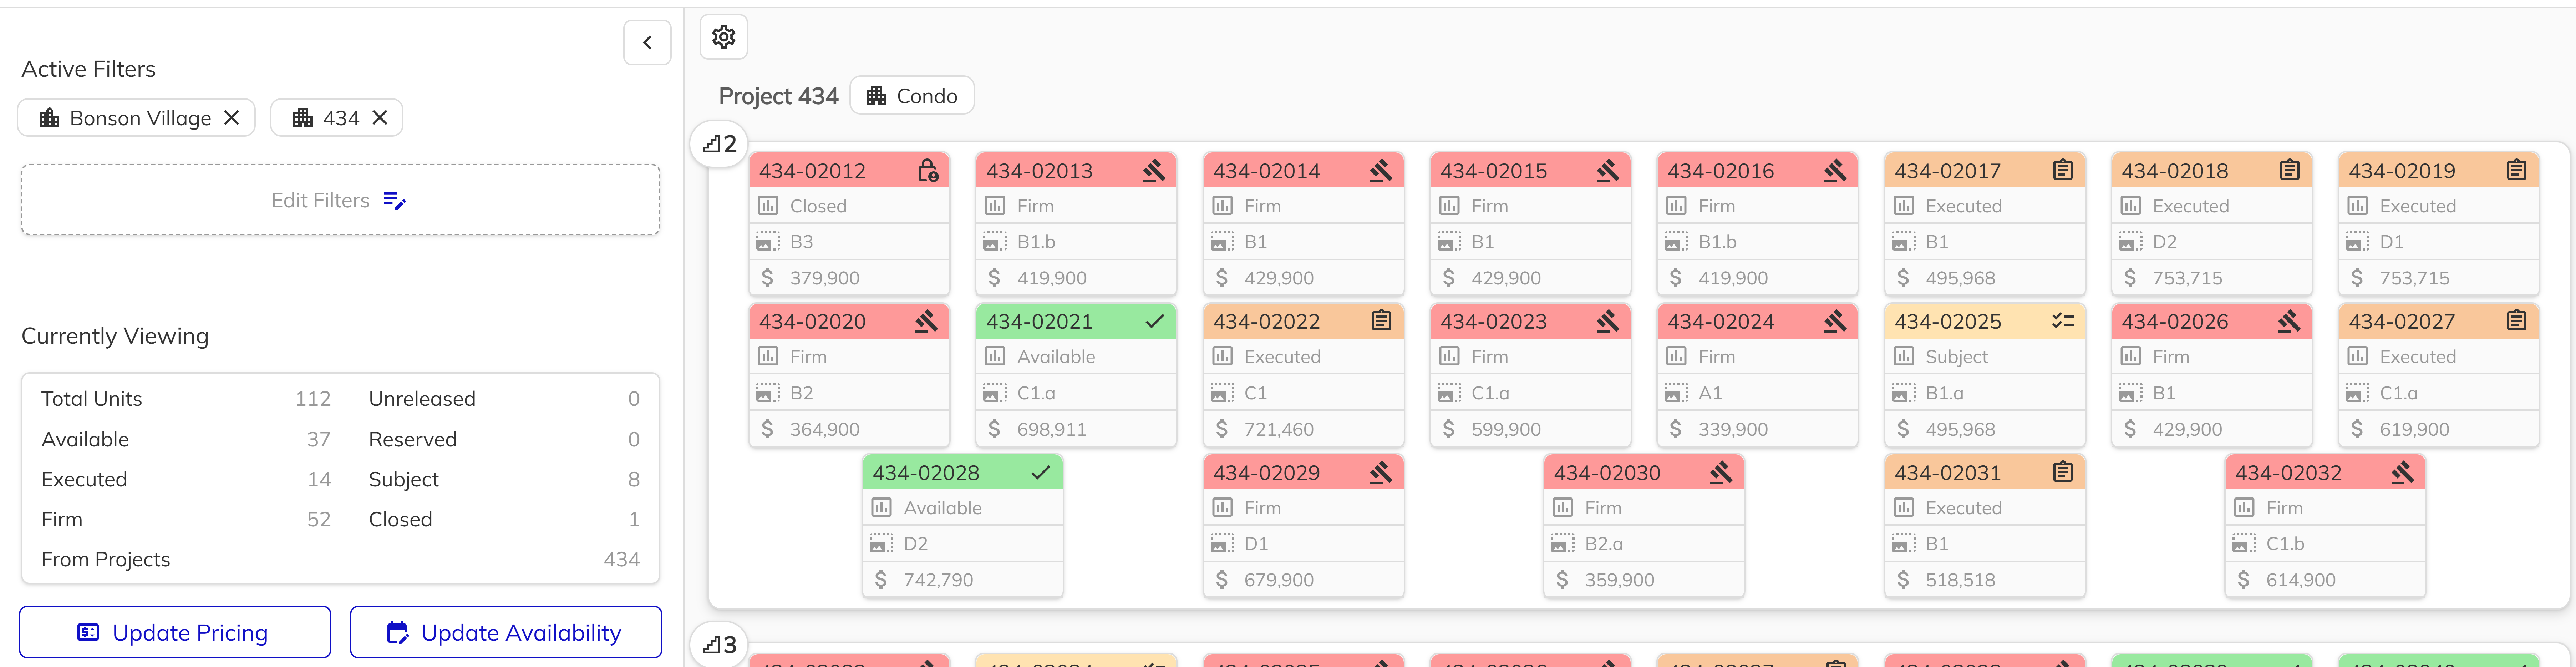
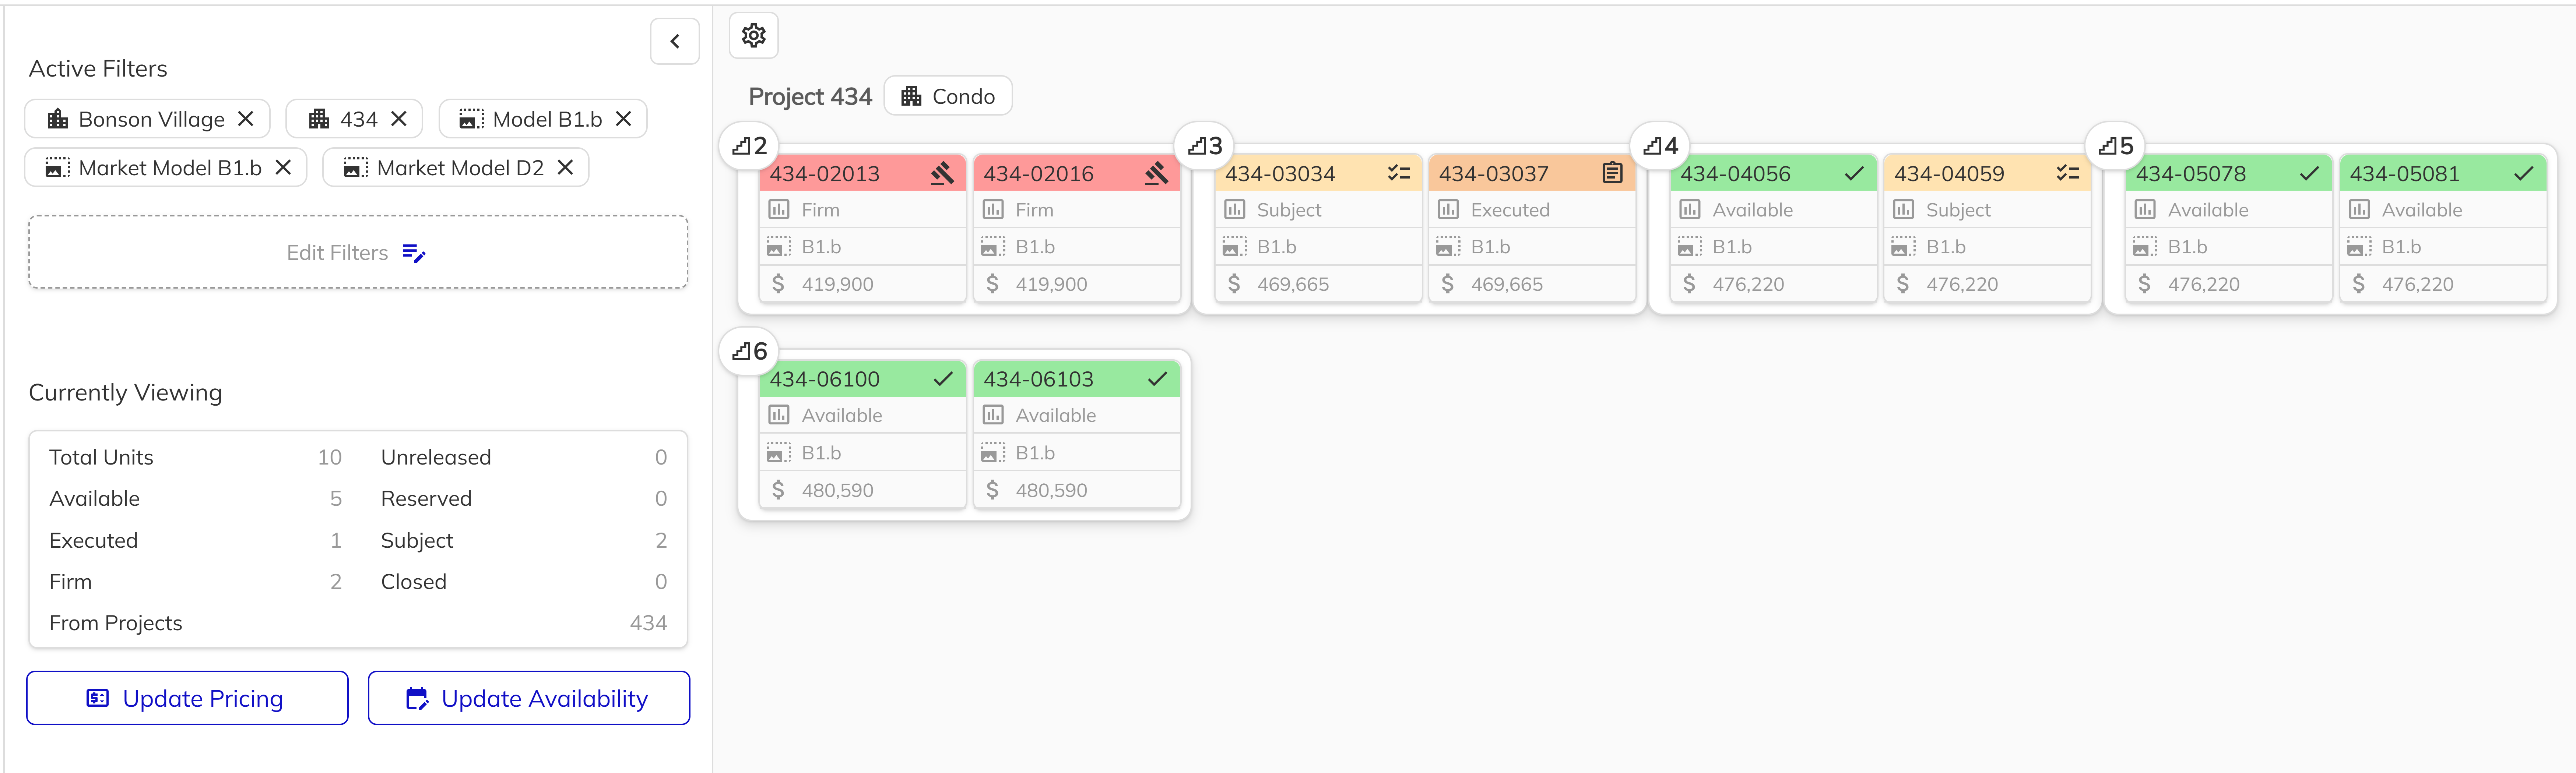
2. Hunt Down Your Target Unit
Use the filters at the top of the Unit Manager to narrow down your search. Filter by community, project, model, or sales status. Look for units with a Sales Status of Available—these are the units that can be reserved. You can also use the search bar to find a specific unit by number or address.
3. Dive Into the Unit Details
Click on the unit you wish to reserve. This opens the Unit View panel, displaying detailed information about the unit including pricing, specifications, lot details, and current sales status. Take a moment to verify this is the correct unit before proceeding.
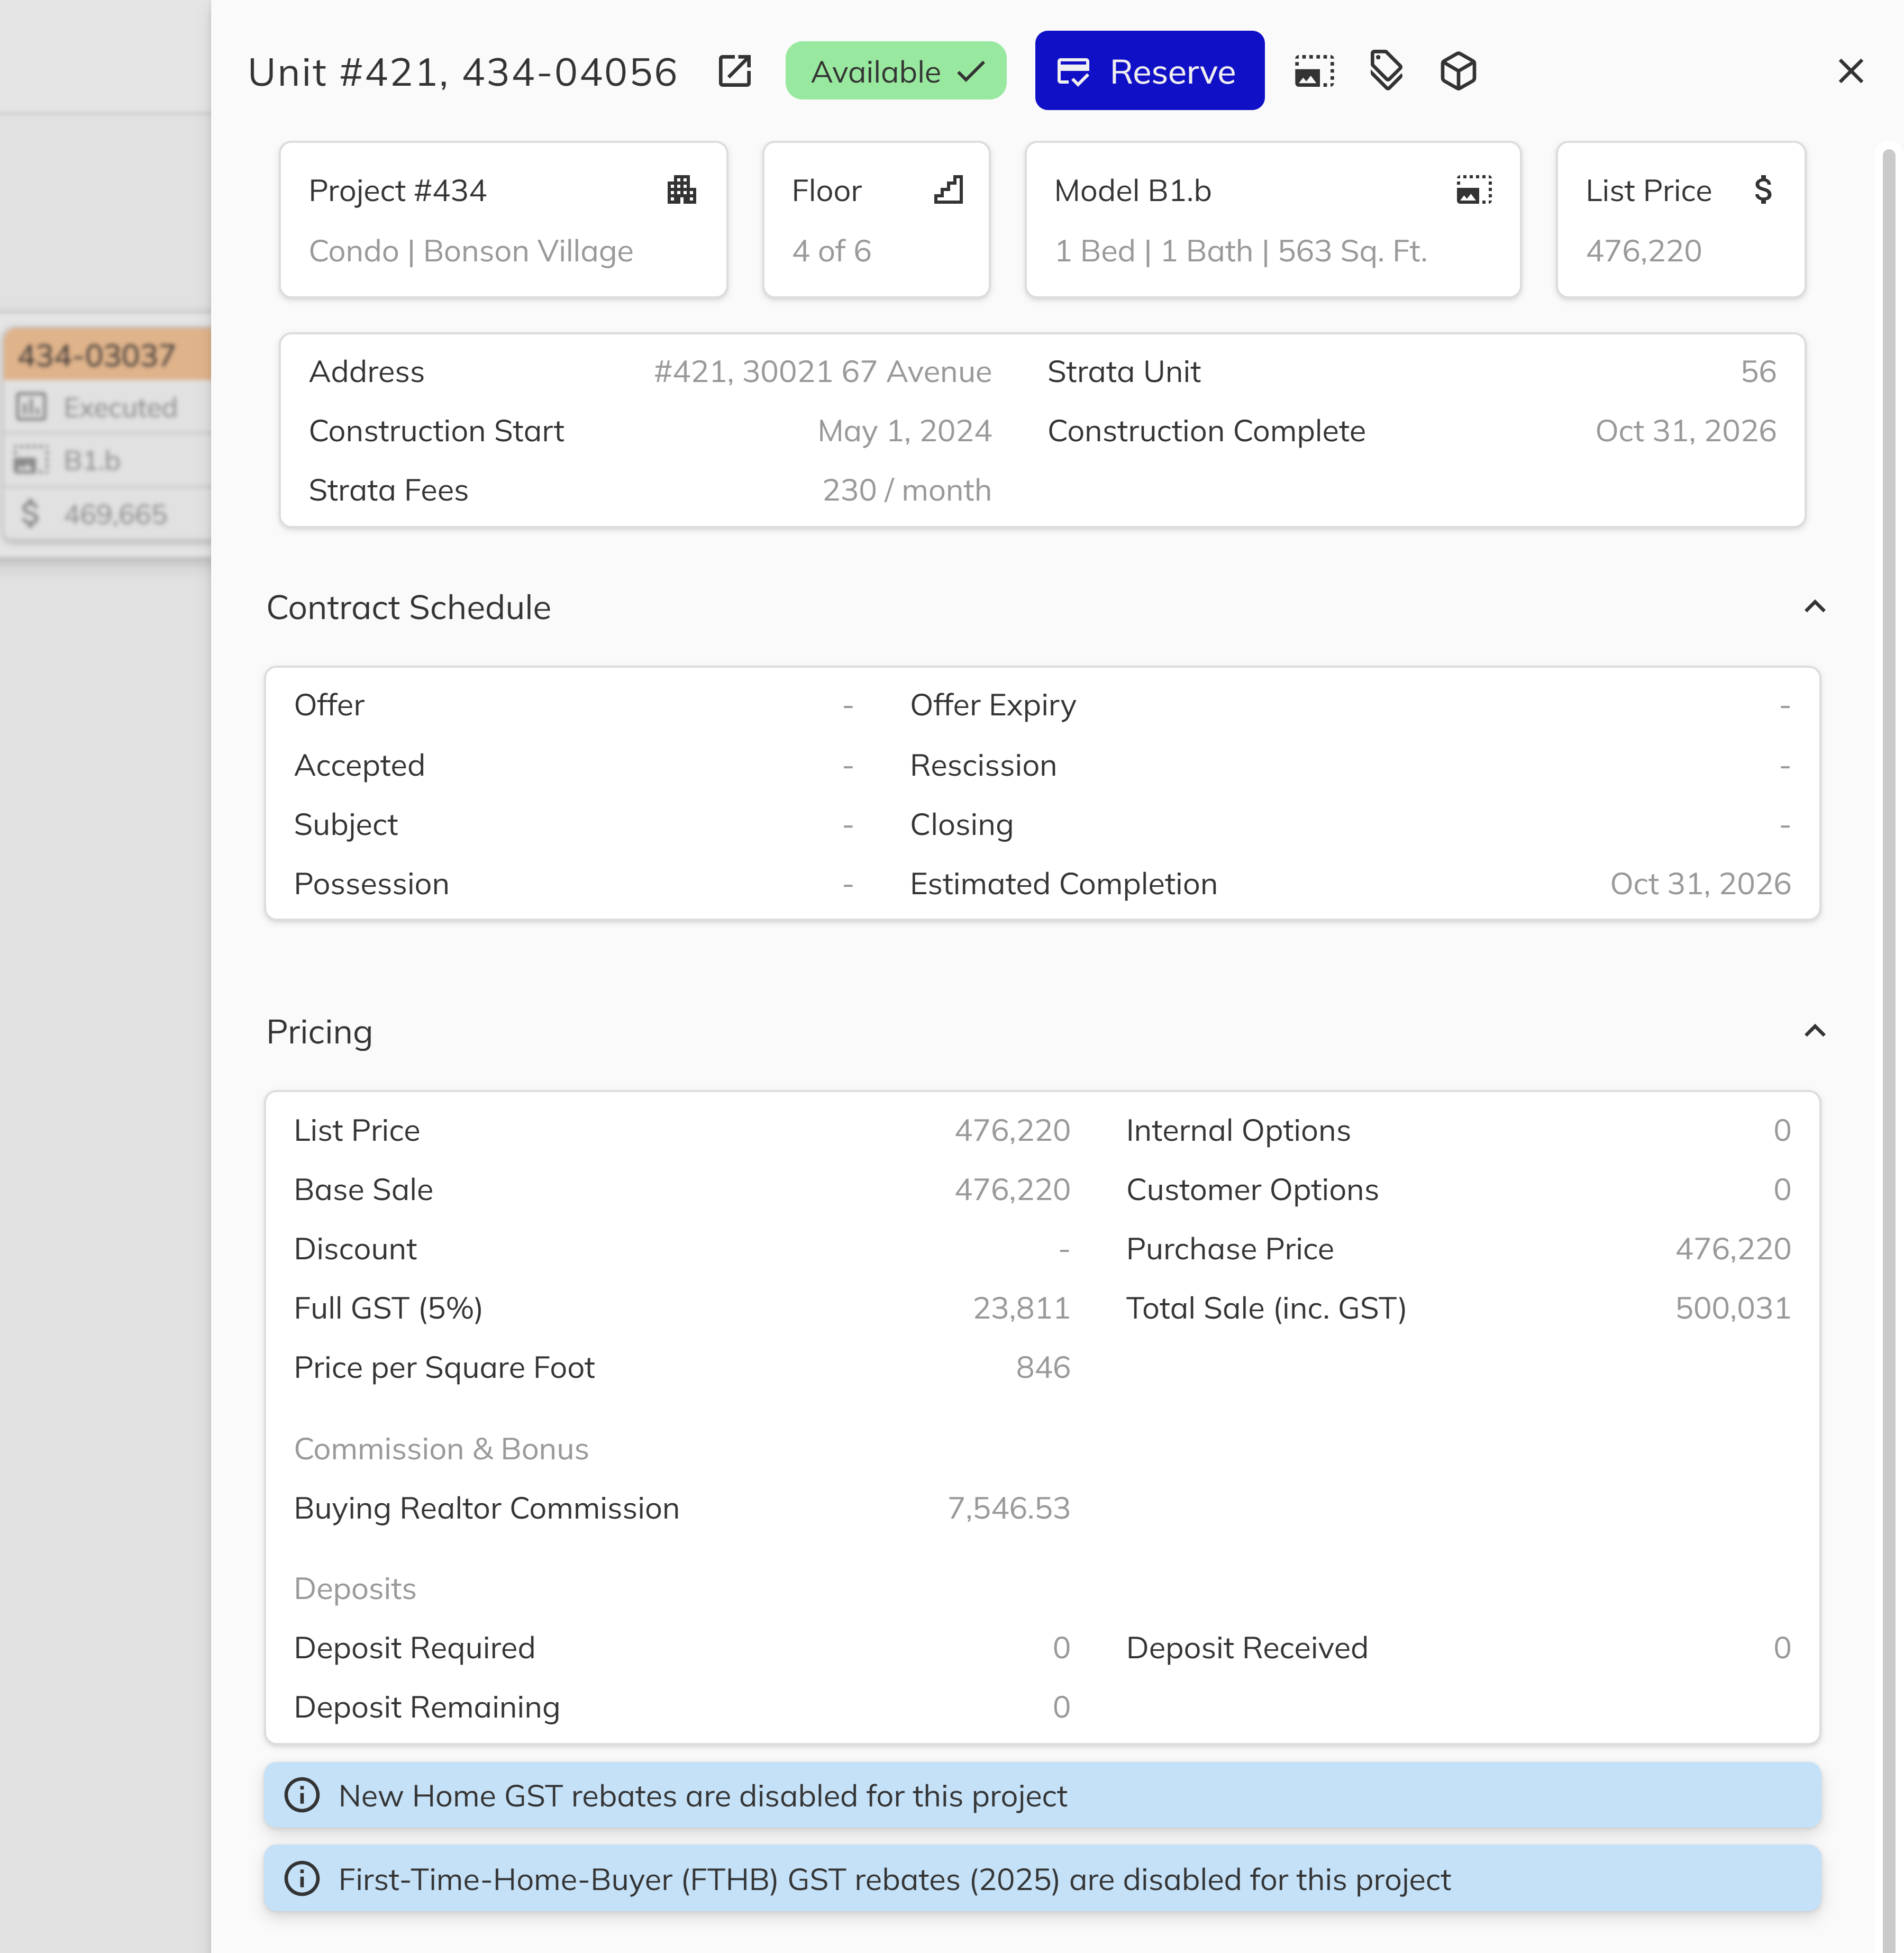
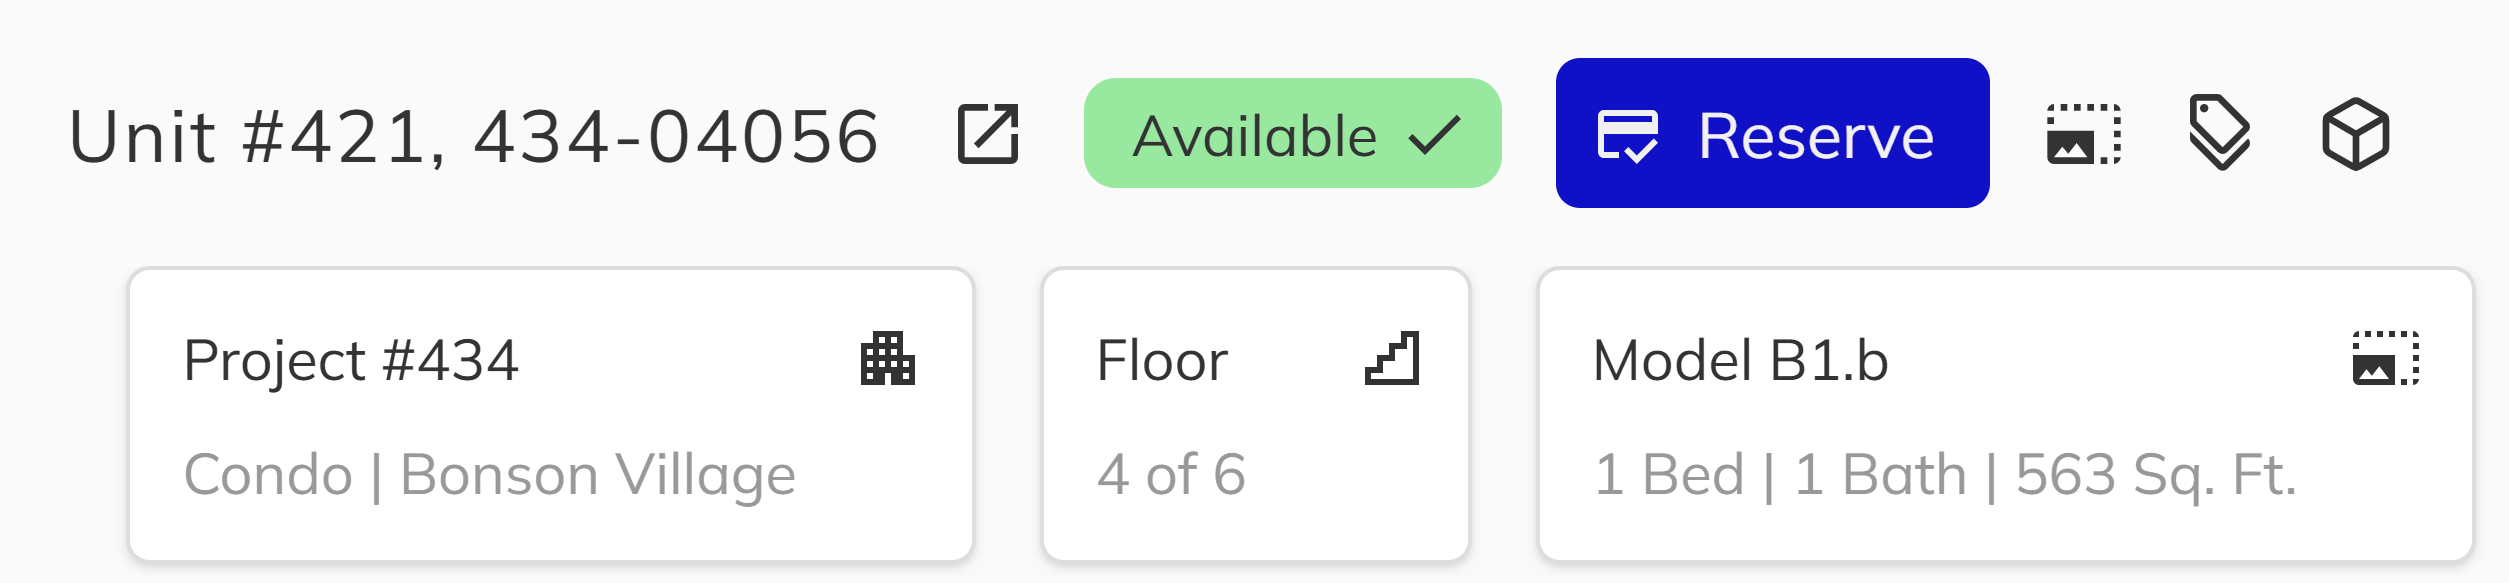
4. Initiate the Reservation
In the Unit View, click the Reserve button to begin the reservation workflow. This launches the reservation dialog where you'll enter the purchaser's information and configure the reservation details.
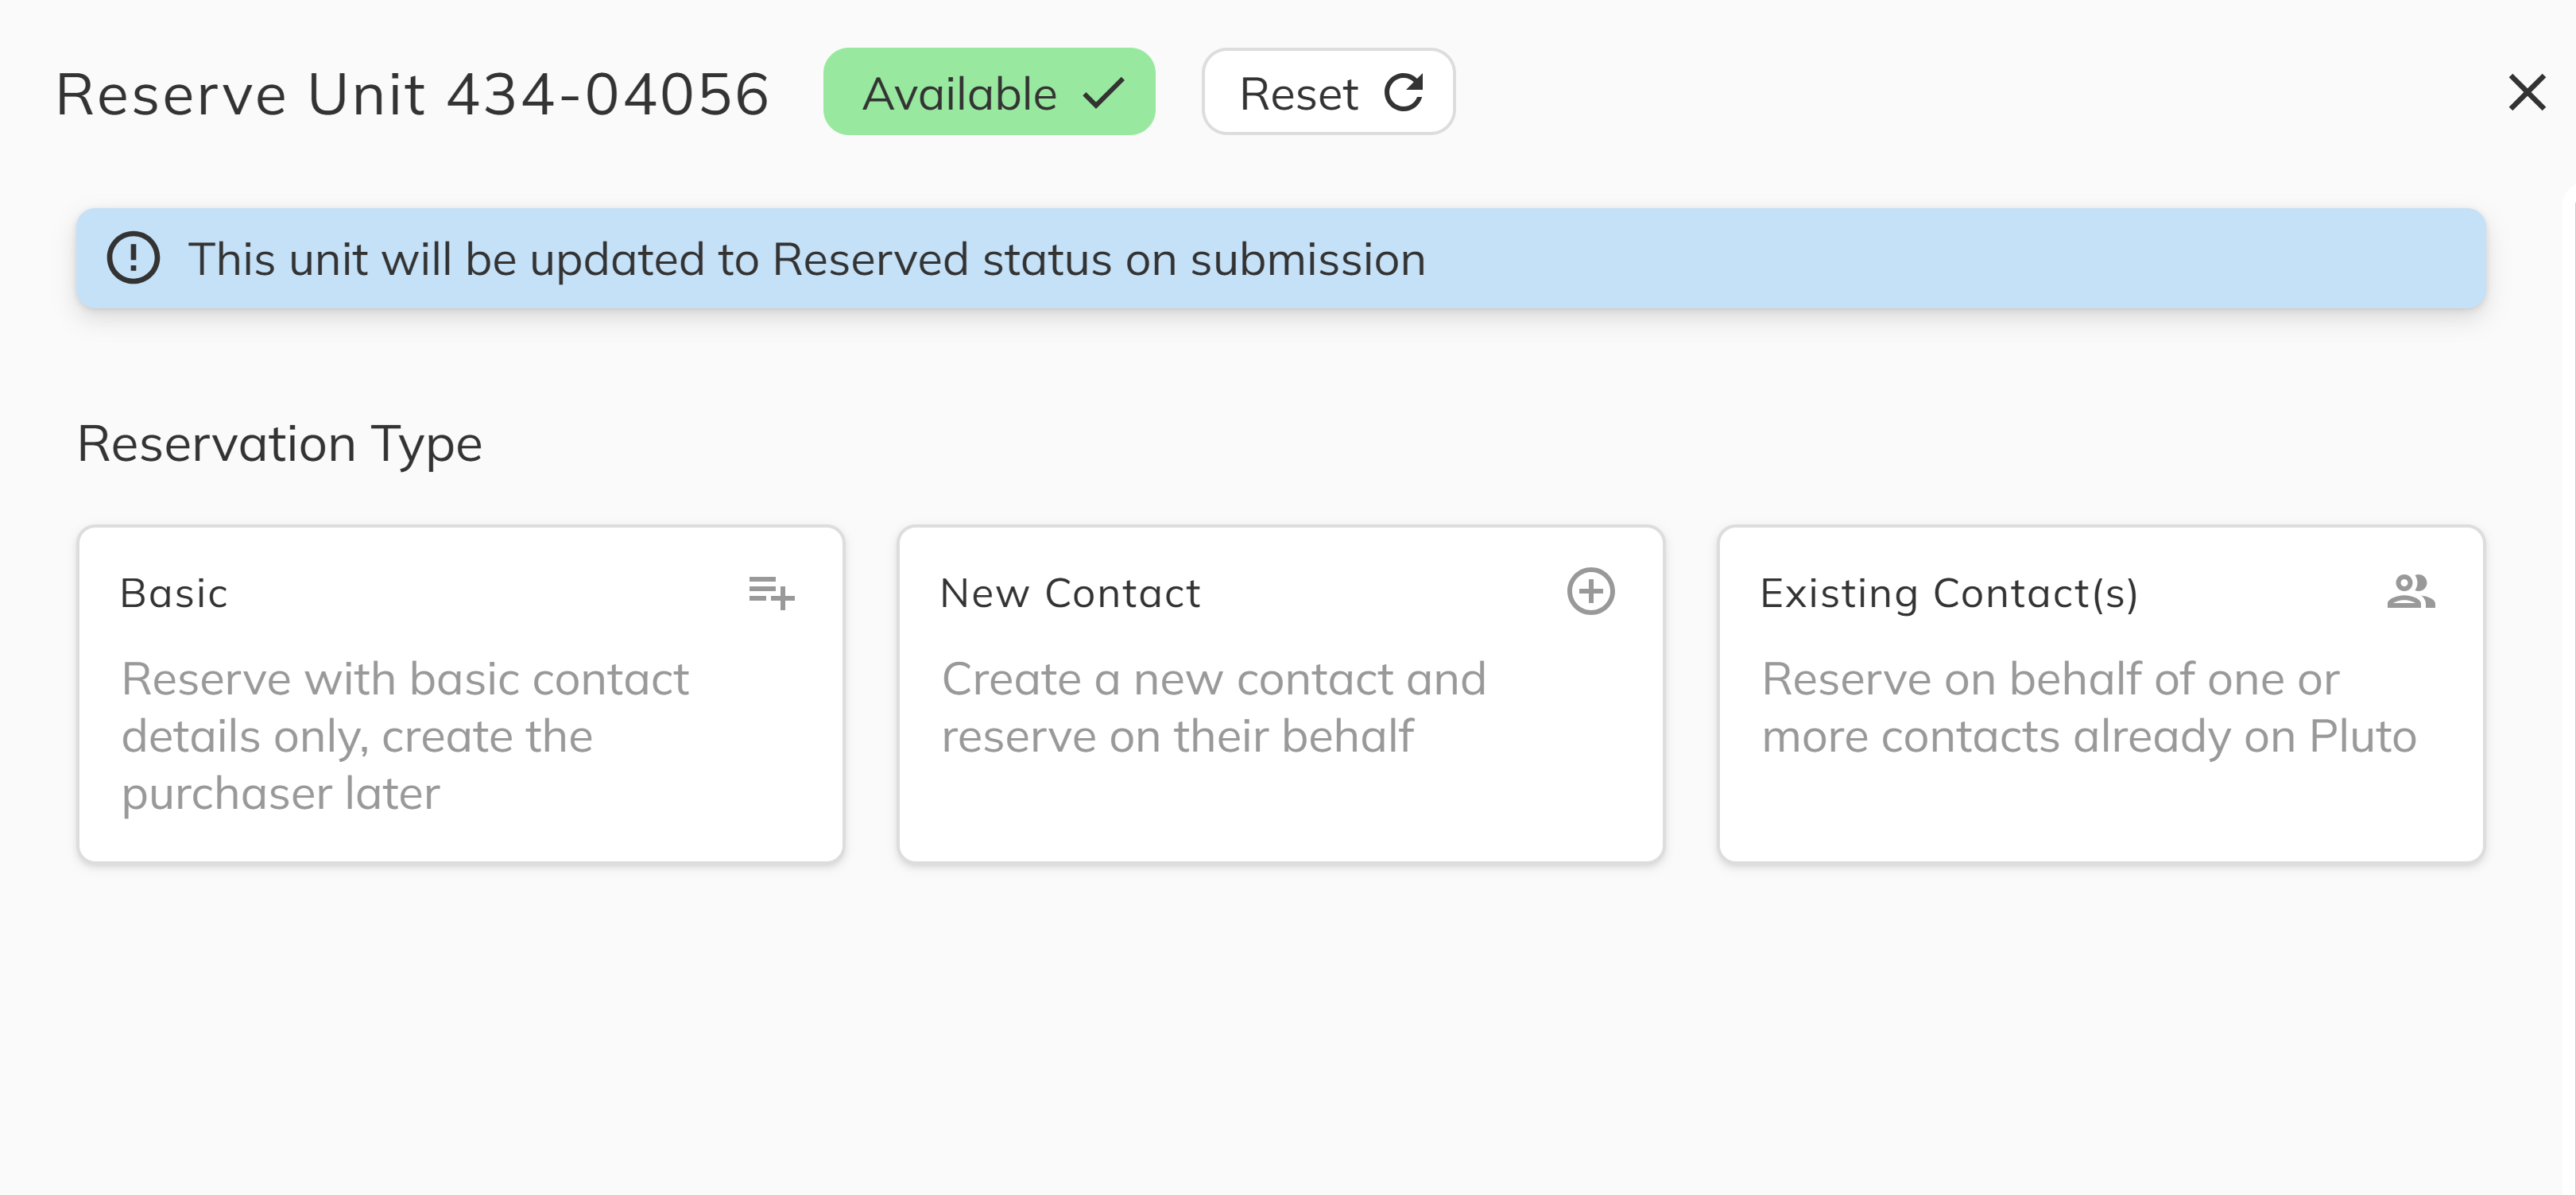
Completing the Reservation Details
5. Connect With Your Contact
Search for an existing contact by name, email, or phone number. If the purchaser doesn't exist in the system, click Create New Contact to add them. Enter the purchaser's first name, last name, and at least one contact method (email or phone). The contact you select will become the primary purchaser on this reservation.
For purchasers who are still exploring their options and not yet fully committed, you can use the basic reservation type. This allows you to capture minimal contact information without creating a complete profile in the system, ideal for early-stage prospects who are considering a unit but haven't made a final decision.
6. Set the Reservation Clock
The reservation duration determines how long the unit will be held for the purchaser. This is typically pre-configured at the project level, but you may have the ability to adjust it based on your organization's policies. The expiration date will be clearly displayed so both you and the purchaser know the timeline.
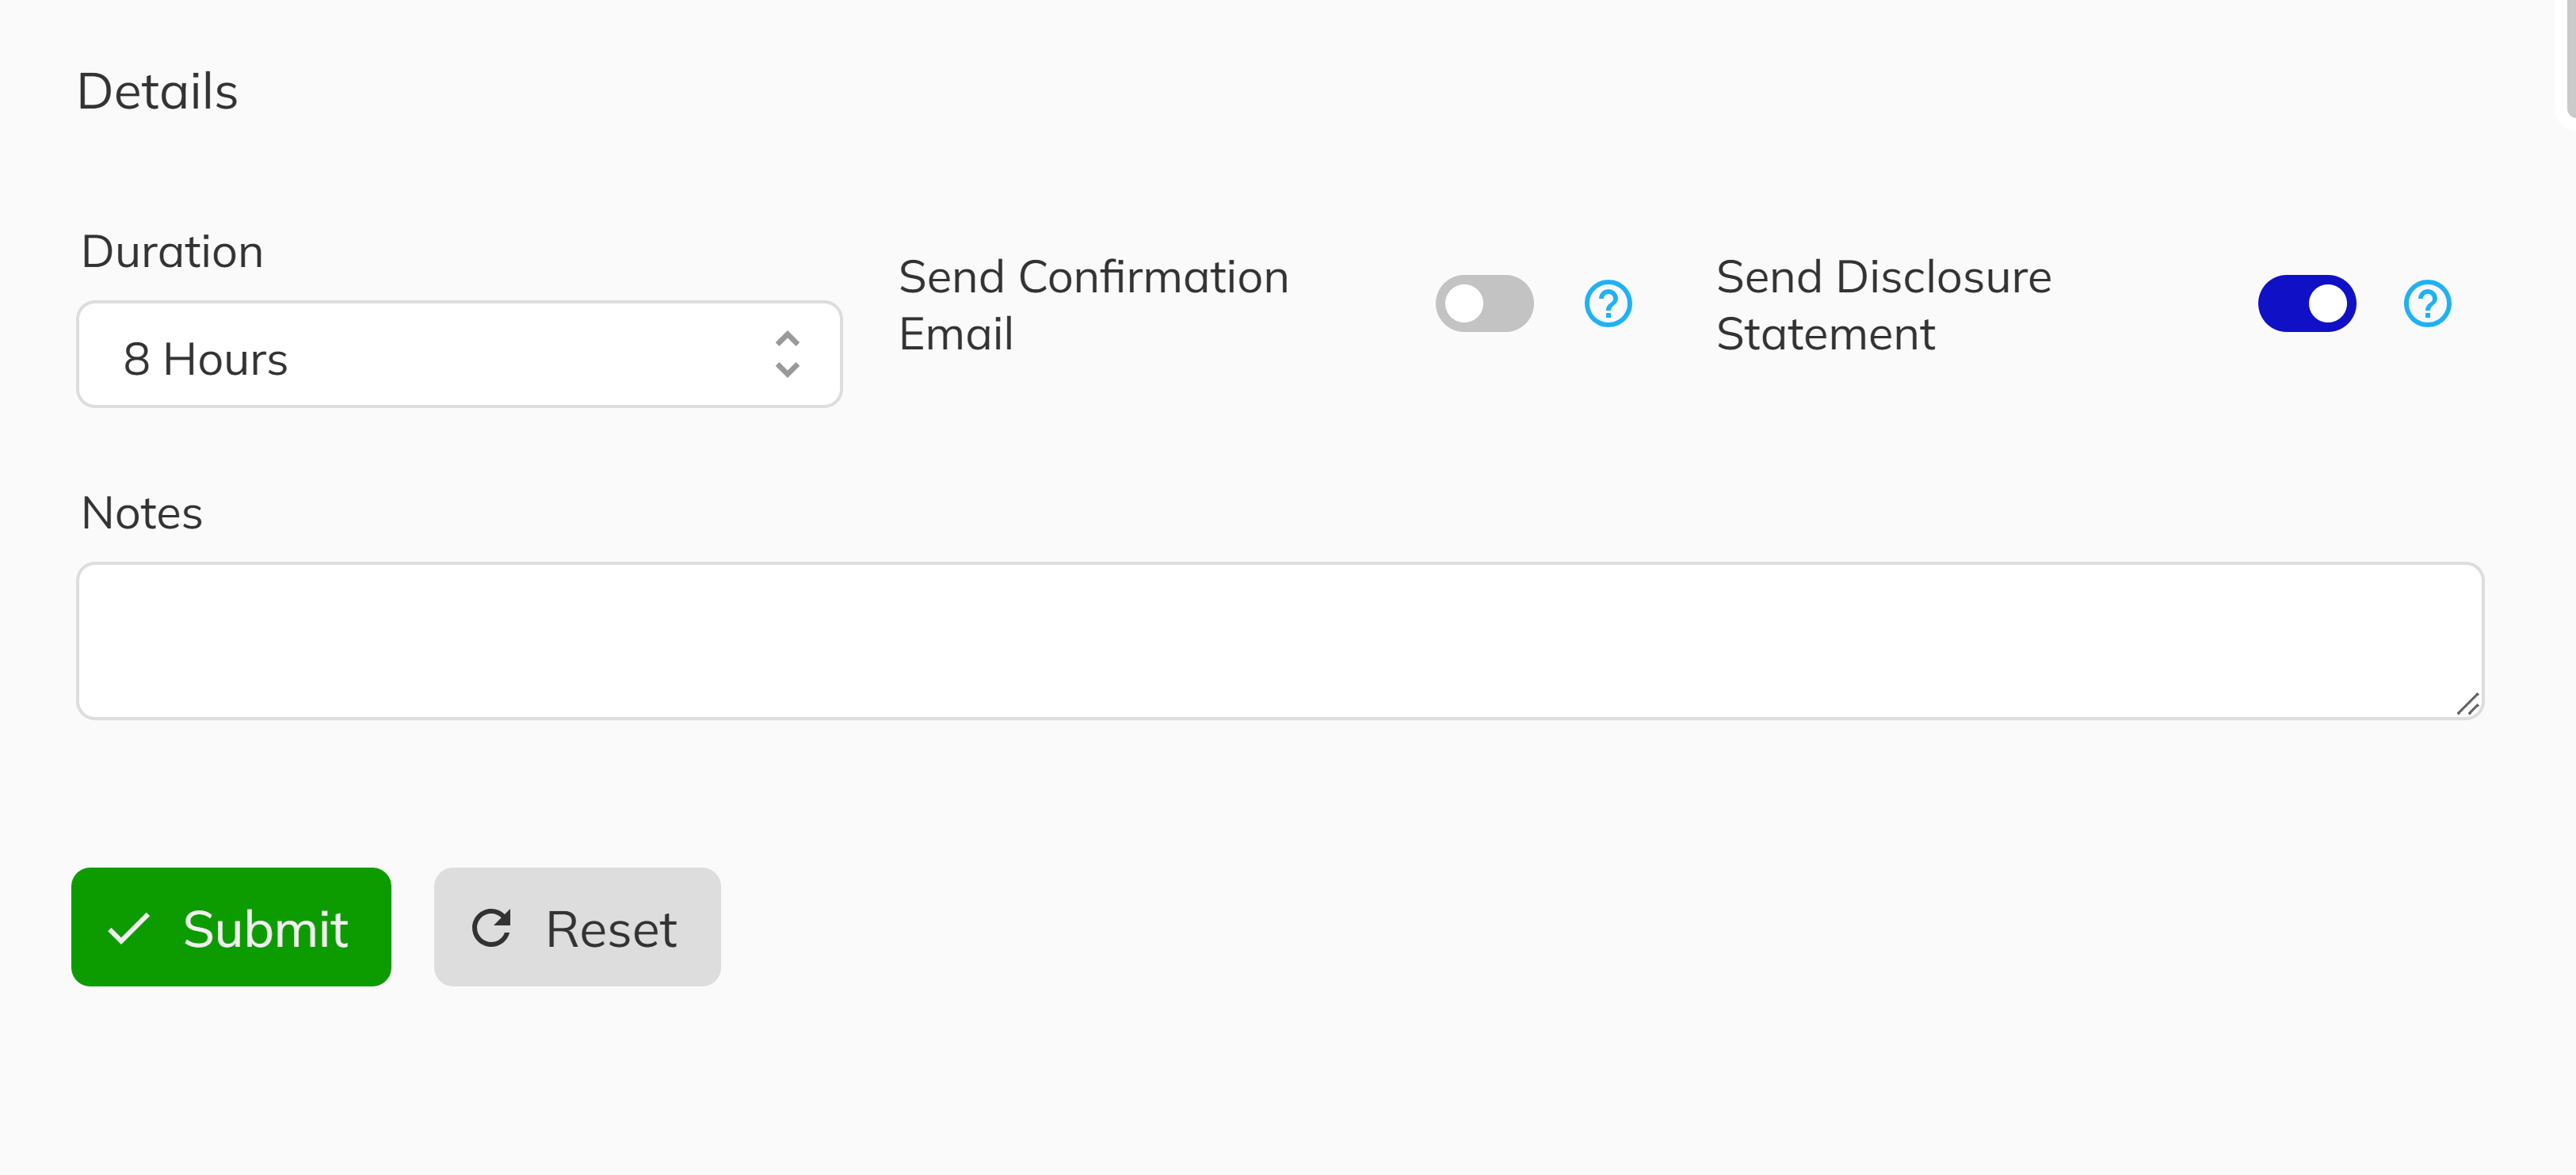
8. Seal the Deal
Add any relevant notes about the reservation, such as special requests, follow-up actions needed, or important conversation details. Review all information for accuracy, then click Submit button to complete the process. The unit will immediately be marked as reserved.
After the Reservation
Once submitted, the unit's sales status changes to Reserved, and the reservation appears in:
- The Active Reservations panel on your dashboard
- The unit's history in the Unit View
The reservation clock is now ticking. You can monitor active reservations from your dashboard and receive alerts as expiration dates approach. From here, you can proceed to the New Deal Process when the purchaser is ready to move forward with a formal sales agreement.
Part 2: Customer Connect Self-Service Reservations
Customer Connect empowers purchasers and realtors to browse inventory and complete reservations independently through a secure, web-based application. This self-service platform is ideal for reaching customers outside of sales office hours, during high-volume sales events, or for tech-savvy buyers who prefer a self-guided experience.
For a comprehensive walkthrough of the Customer Connect reservation journey, including detailed screenshots, step-by-step instructions, and troubleshooting guidance, please refer to the Client Reserve Flow documentation.
What Happens After Reservation
Once a reservation is successfully submitted through either method:
- Availability Updates Immediately — The unit's sales status changes to Reserved, preventing other reservations
- Dashboard Updates — The reservation appears in the Active Reservations panel and in-app notifications
- Reservation Duration Begins — The clock starts on the configured reservation hold period
- Event Logging — All reservation activity is recorded in the event history for auditing and follow-up
Pending identity verification does not block the reservation itself but may delay later contract stages. Customers can complete identity verification separately through the Identity Flow link sent via email. For more information, see Client Identity Flow.
Congratulations! You have successfully navigated through the complete Reservation process. Whether you've guided customers through staff-assisted reservations in the Sales App or enabled them to self-serve through Customer Connect, you now have the knowledge to secure unit interest effectively. By understanding both reservation methods—from selecting units and collecting purchaser information to managing appointments and deposits—you have created formal reservations that hold units for your purchasers. Your reservations are now properly documented and ready for the next stage of converting them into sales agreements through the New Deal process.
The next step is converting these reservations into sales agreements through the New Deal Process.