Mass Document Share
The Mass Document Share feature allows you to generate and send a single document template to multiple units simultaneously. Instead of navigating into each individual unit to create and share a document, you can select your target units in bulk and generate everything in one action — saving significant time when a document needs to go out across an entire community or project.
This feature is located in the Admin section of the sales app. It is different from the "Share All" functionality found on the individual unit view, which shares all existing documents for a single unit.
How We Got Here
Your organization has a document — such as an addendum, disclosure, or notice — that needs to be signed by purchasers across many units. Rather than opening each unit individually, creating the document, and sharing it one by one, the Mass Document Share lets you handle this from a single admin screen. To access this feature, your account must have the Generate Mass Documents permission.
Generating a Mass Document
1. Navigate to the Mass Document page
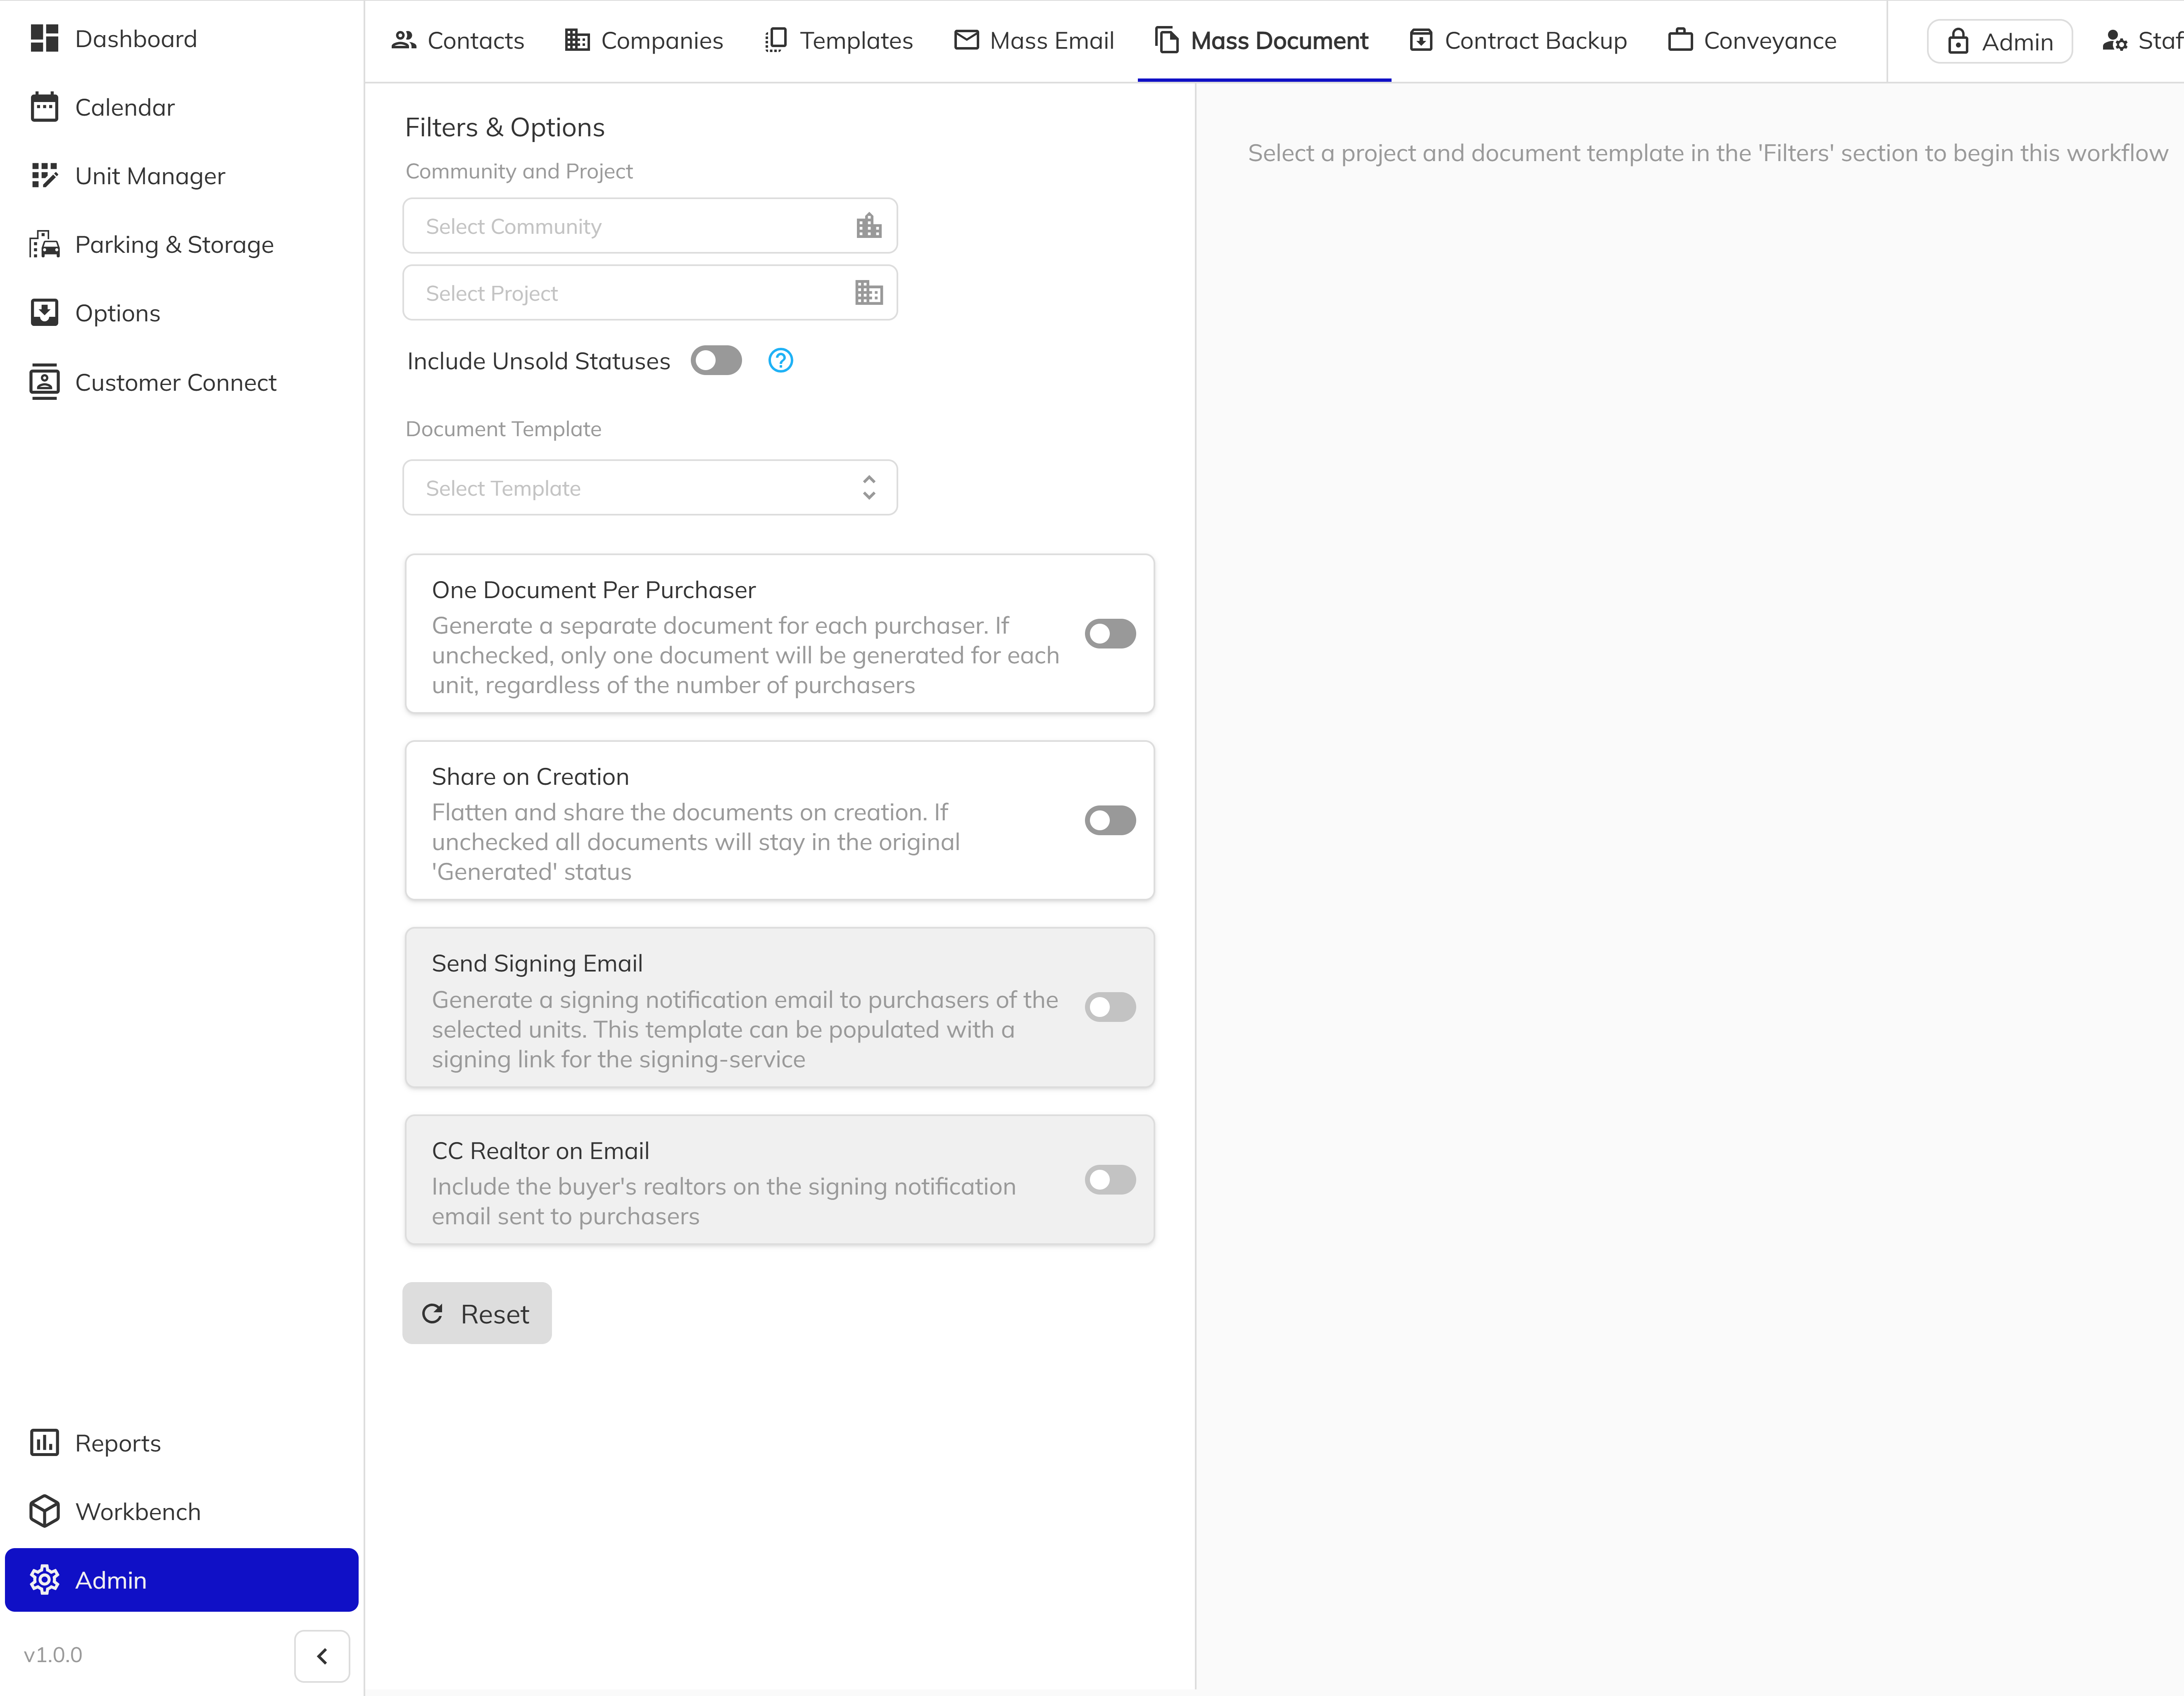
Open the sales app and select Admin from the main sidebar navigation. Then click the Mass Document tab. This opens the Mass Document Share interface with a filters panel on the left and a unit selection grid on the right.
2. Select your Community and Project
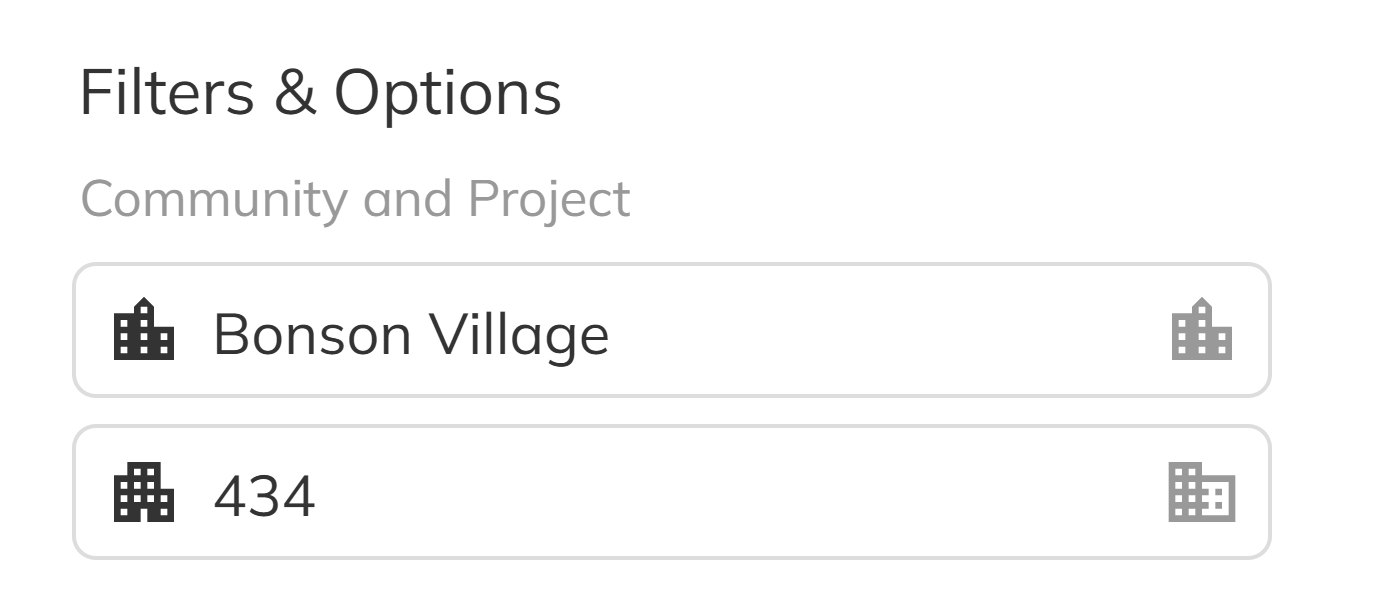
In the Filters & Options panel on the left, select a Community from the dropdown, then select a Project. These selections determine which units will appear in the grid on the right.
3. Narrow your unit selection with optional filters
Depending on your project type, additional filter options may appear:
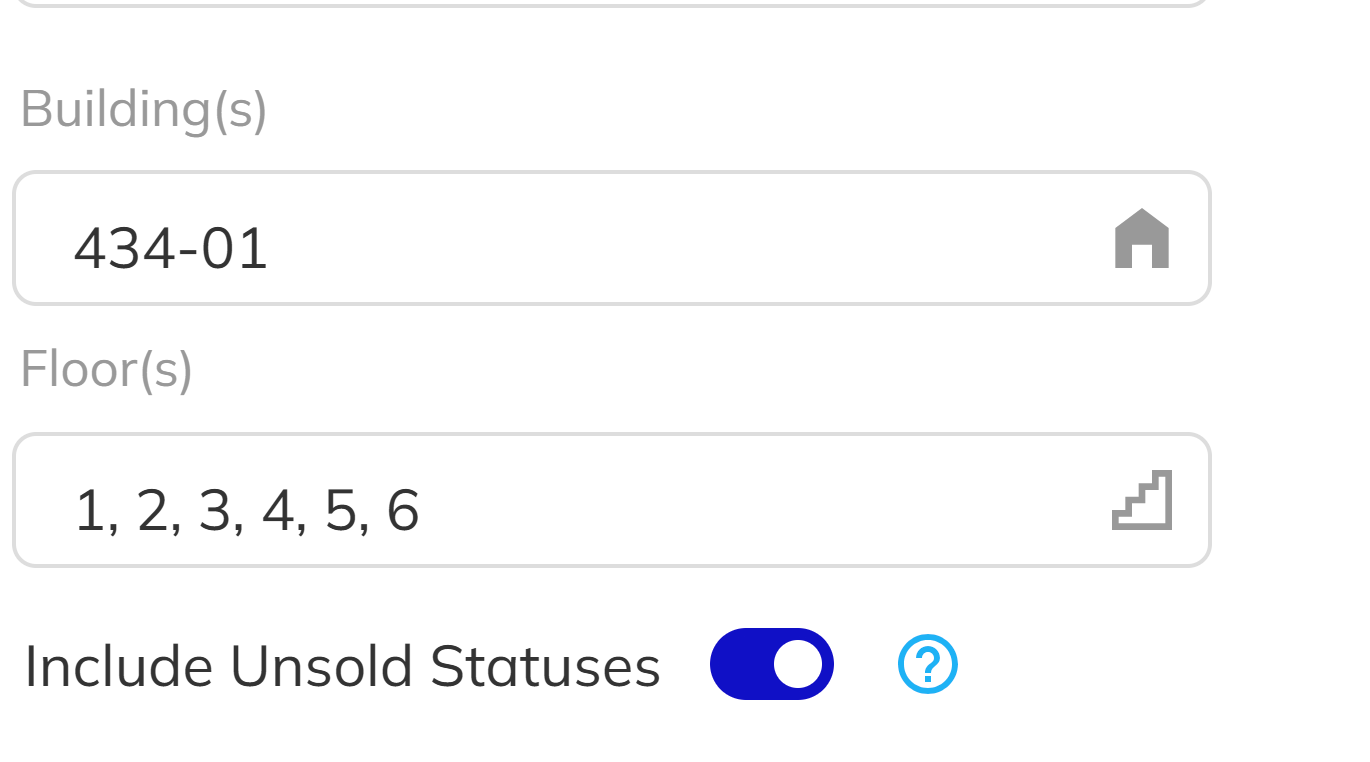
- Building — filter by specific buildings (available for multi-family or high rise/low rise projects)
- Floor — filter by specific floors (available for high-density projects)
- Include Unsold Statuses — toggle this on to include units with Unreleased, Available, and Reserved statuses. By default, only Executed, Subject, Firm, and Closed units are shown.
4. Choose a Document Template
Select a Document Template from the dropdown. This is the PDF template that will be generated for each selected unit. The available templates are determined by your project's configuration.

5. Configure sharing options
Below the template selection, you will find several toggle options that control how the documents are handled after generation:
| Option | Description |
|---|---|
| One Document Per Purchaser | Creates a separate copy of the document for each purchaser on a unit, rather than one document per unit. |
| Share on Creation | Automatically flattens the PDF and sets it to signing status immediately upon creation. |
| Send Signing Email | Sends a notification email to purchasers prompting them to sign. Only available when Share on Creation is enabled. |
| CC Realtor on Email | Includes the unit's assigned realtor as a CC recipient on the signing email. Only available when Send Signing Email is enabled. |
When Send Signing Email is toggled on, an Email Template dropdown appears. Select the email template to use for the notification — it defaults to the "Document Requires Signature" template.
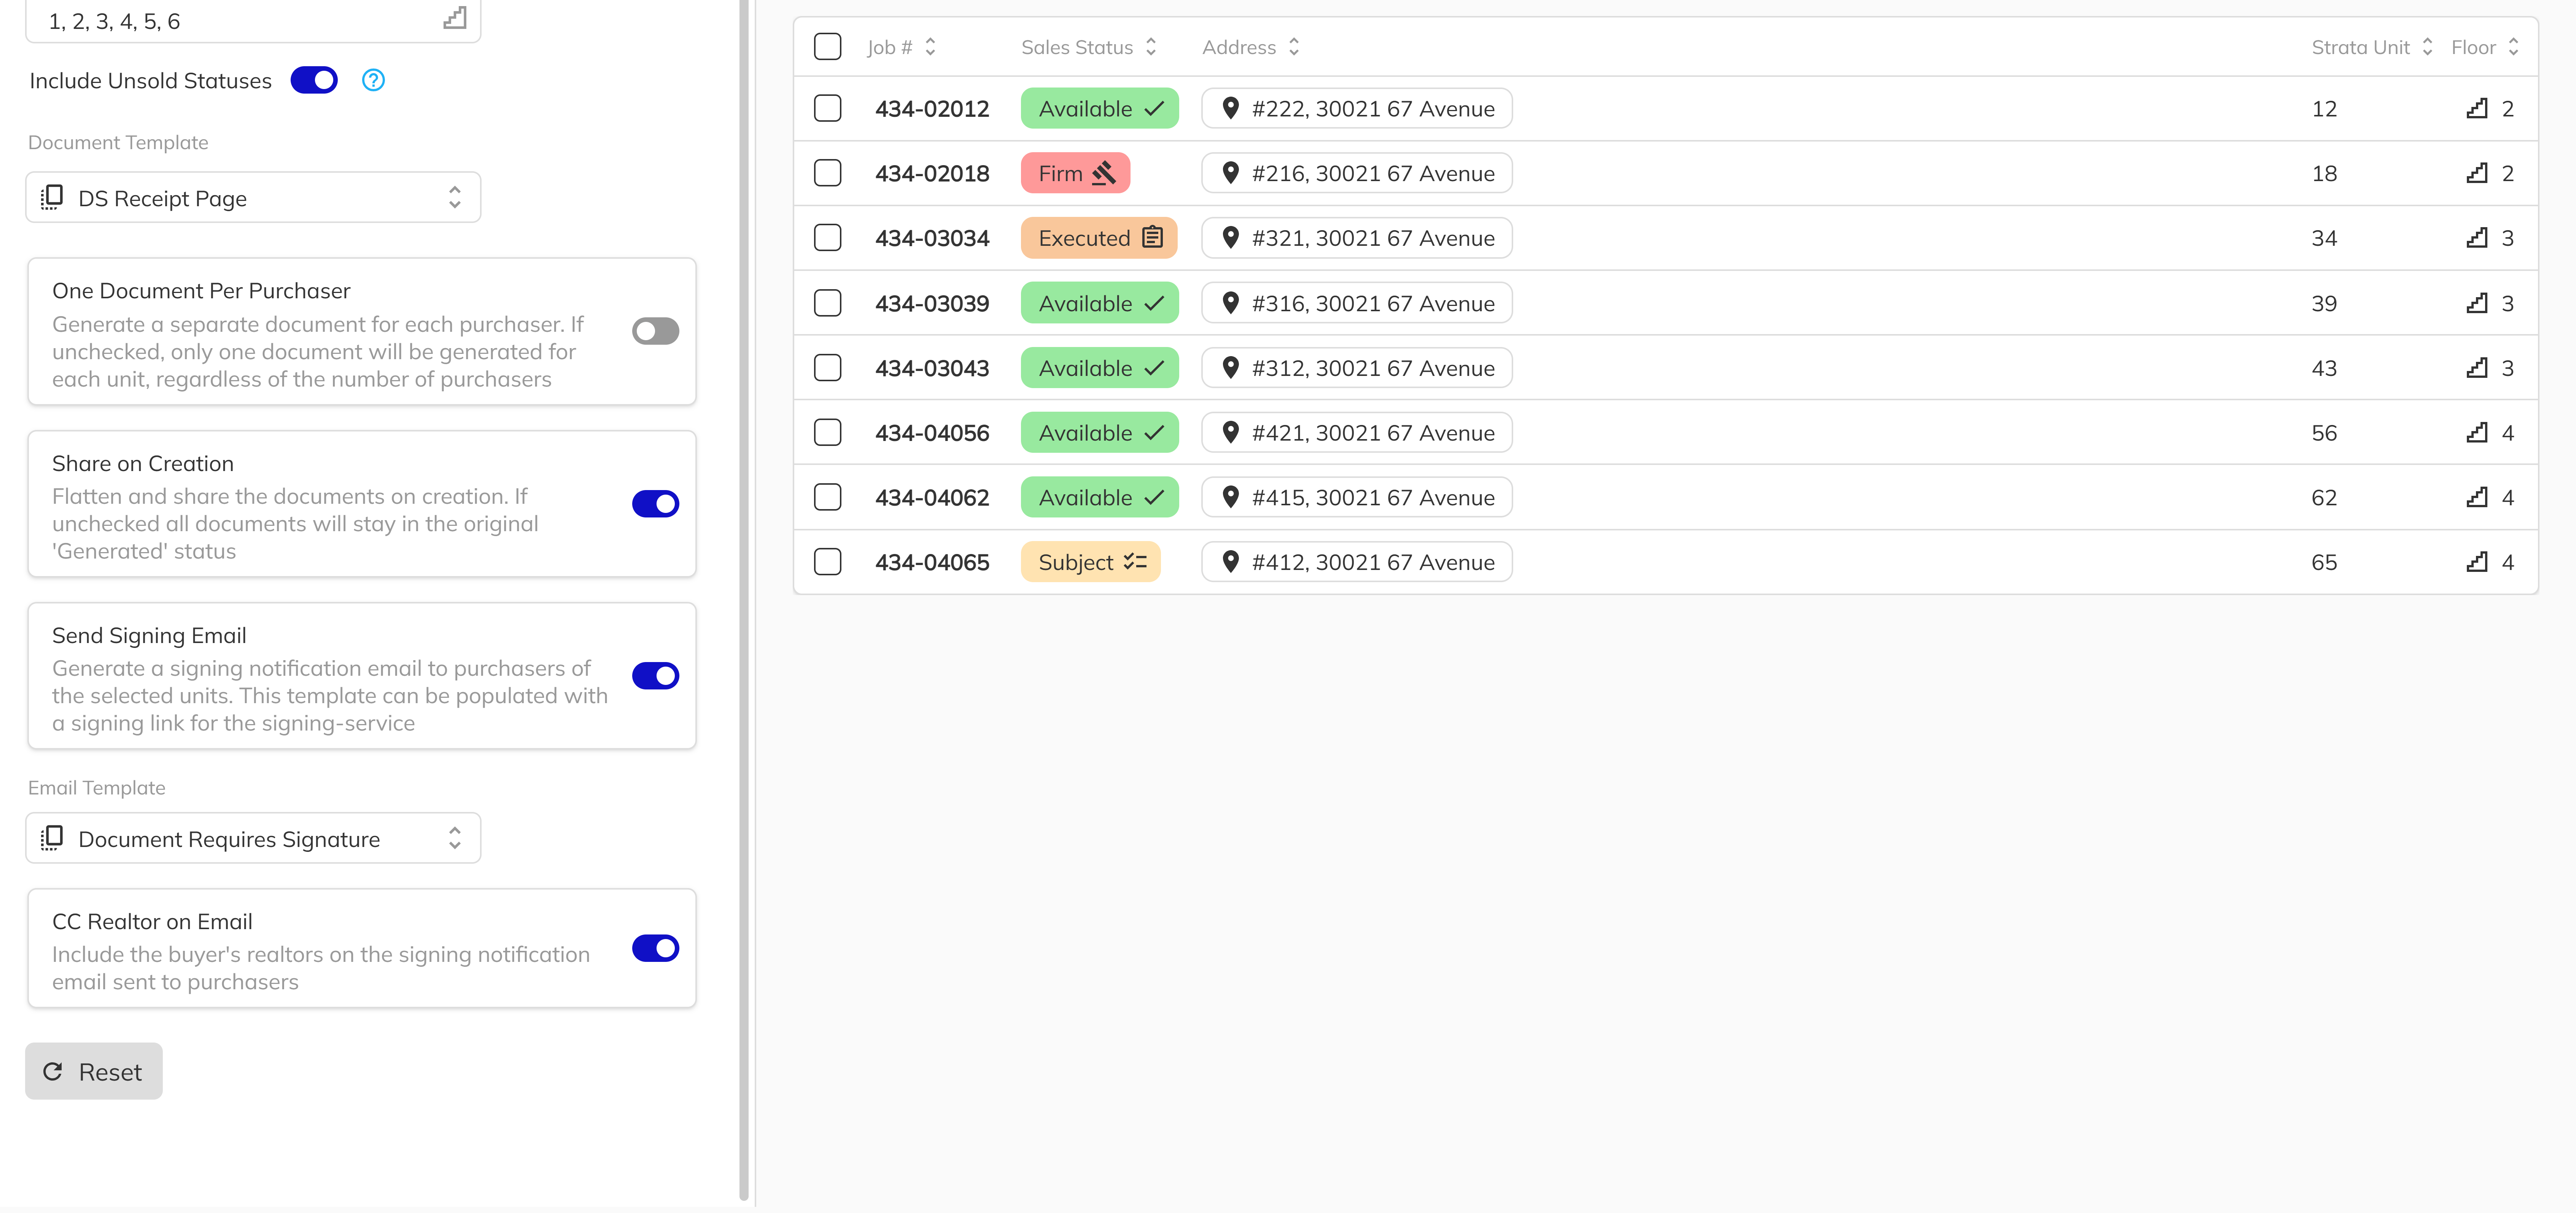
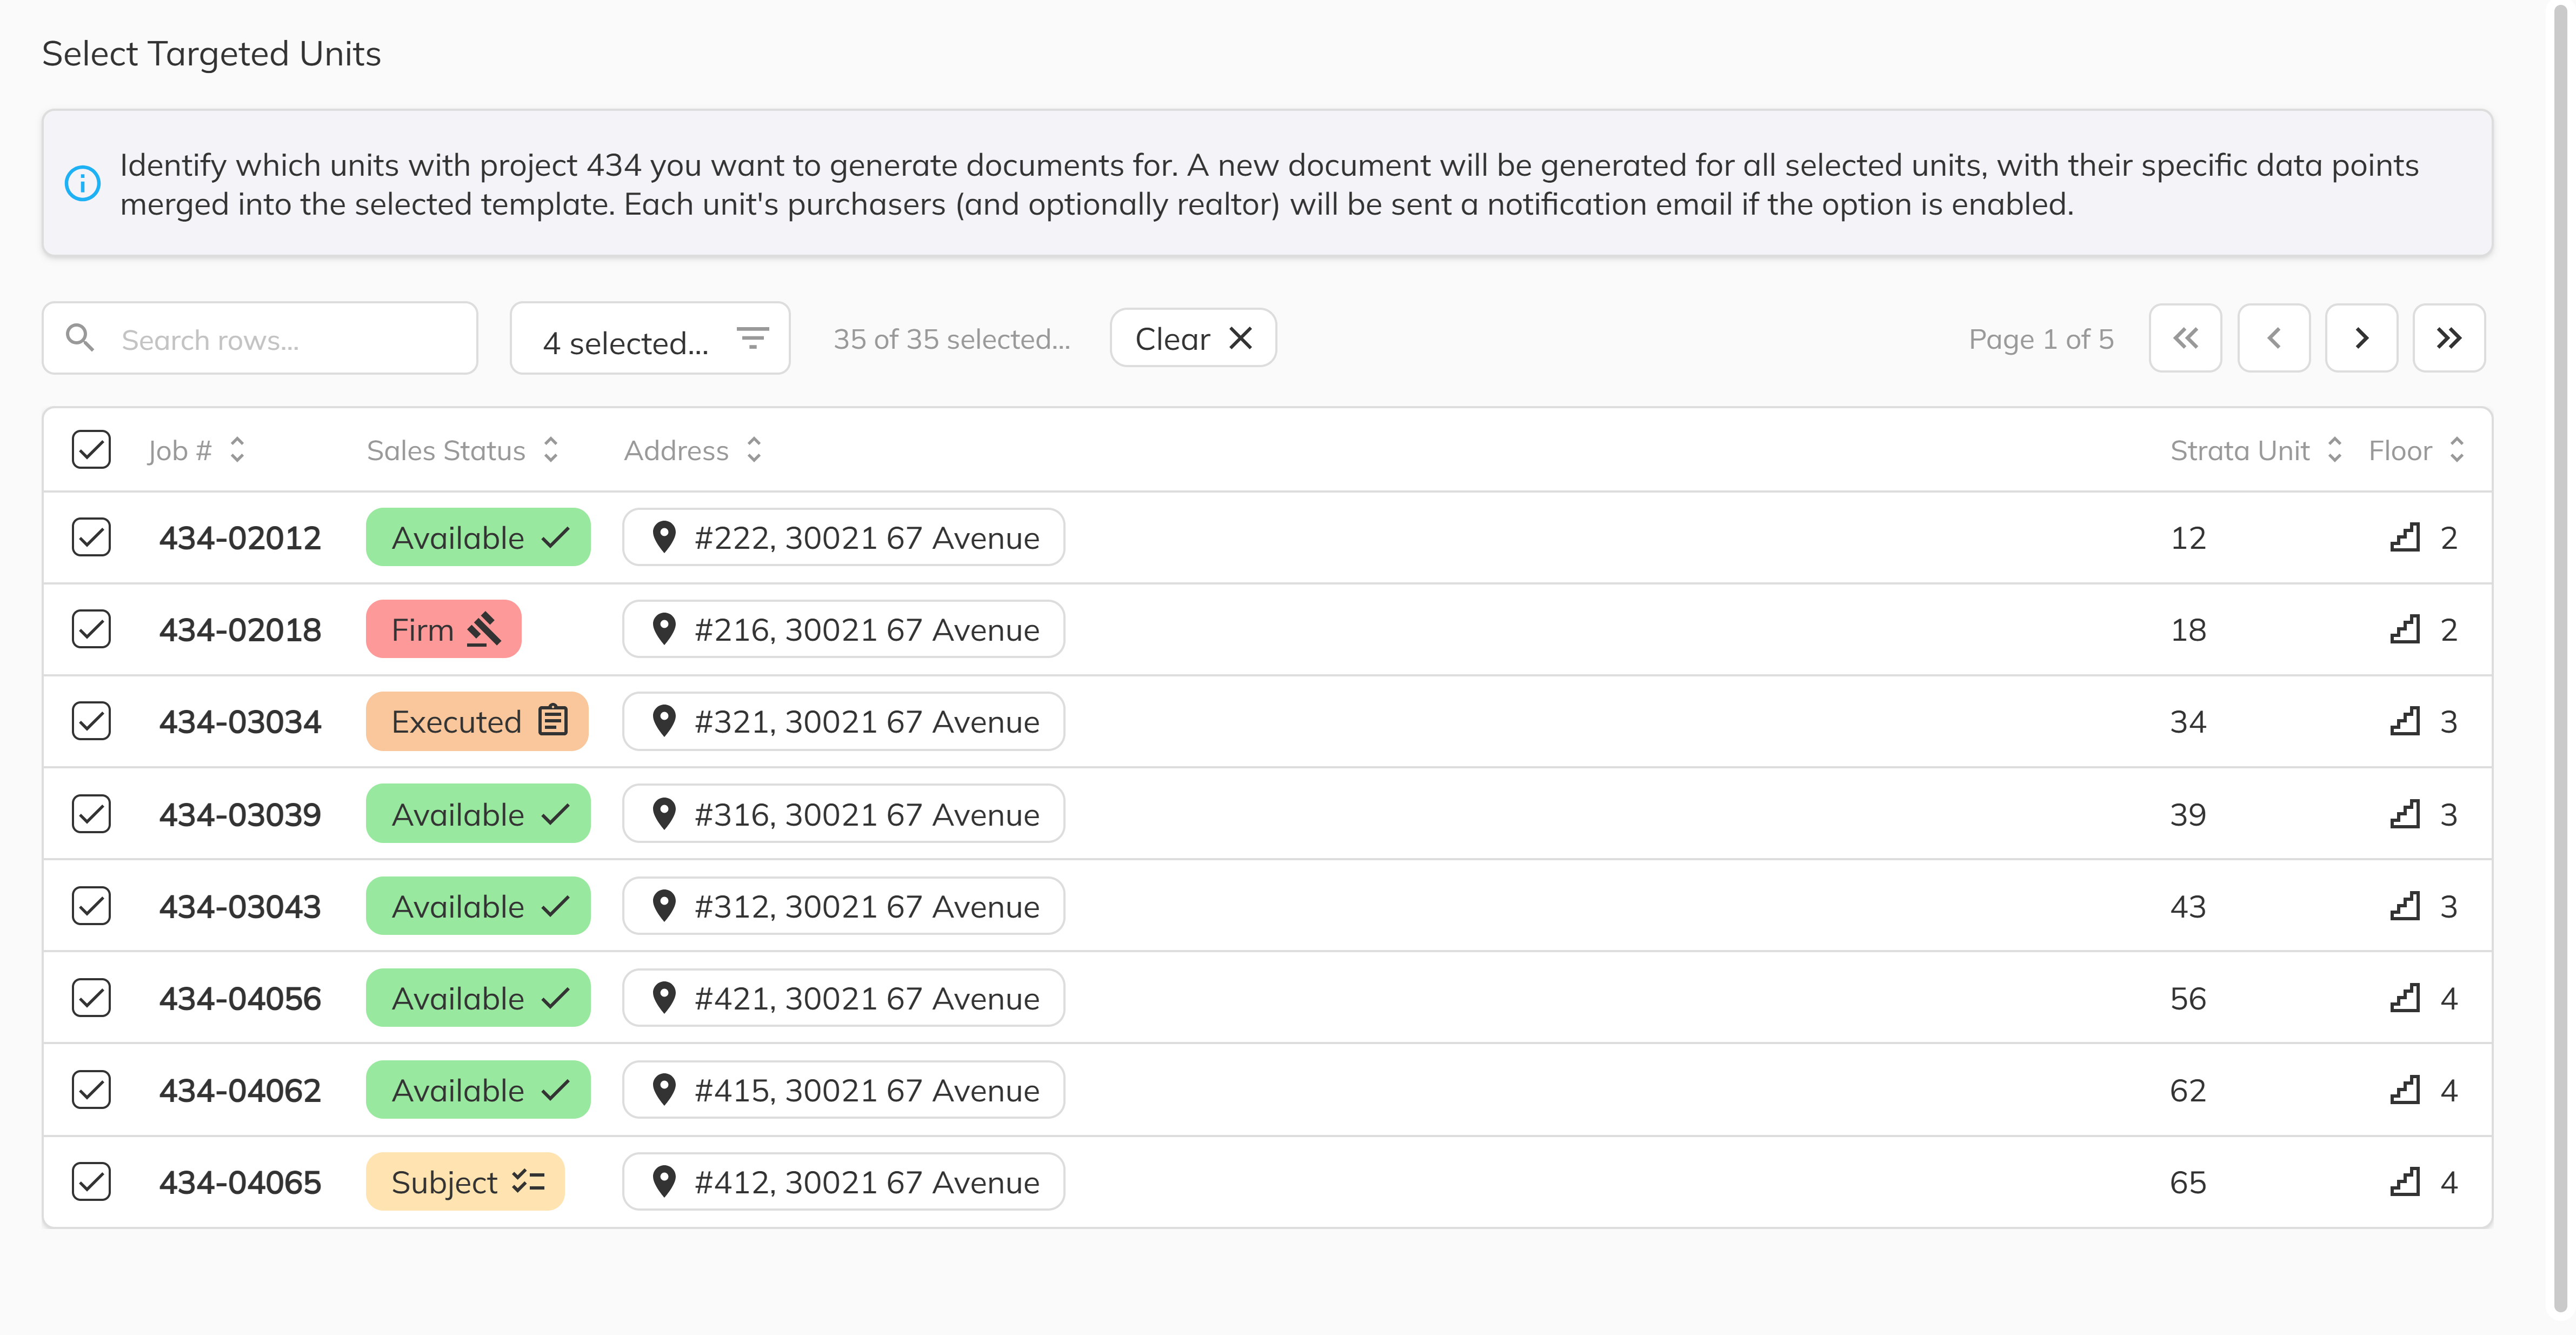
6. Select your targeted units
In the right panel under Select Targeted Units, a data grid displays all units matching your filters. Use the checkboxes to select the units that should receive the document. You can search by unit number or address, and filter by sales status to quickly find the units you need.
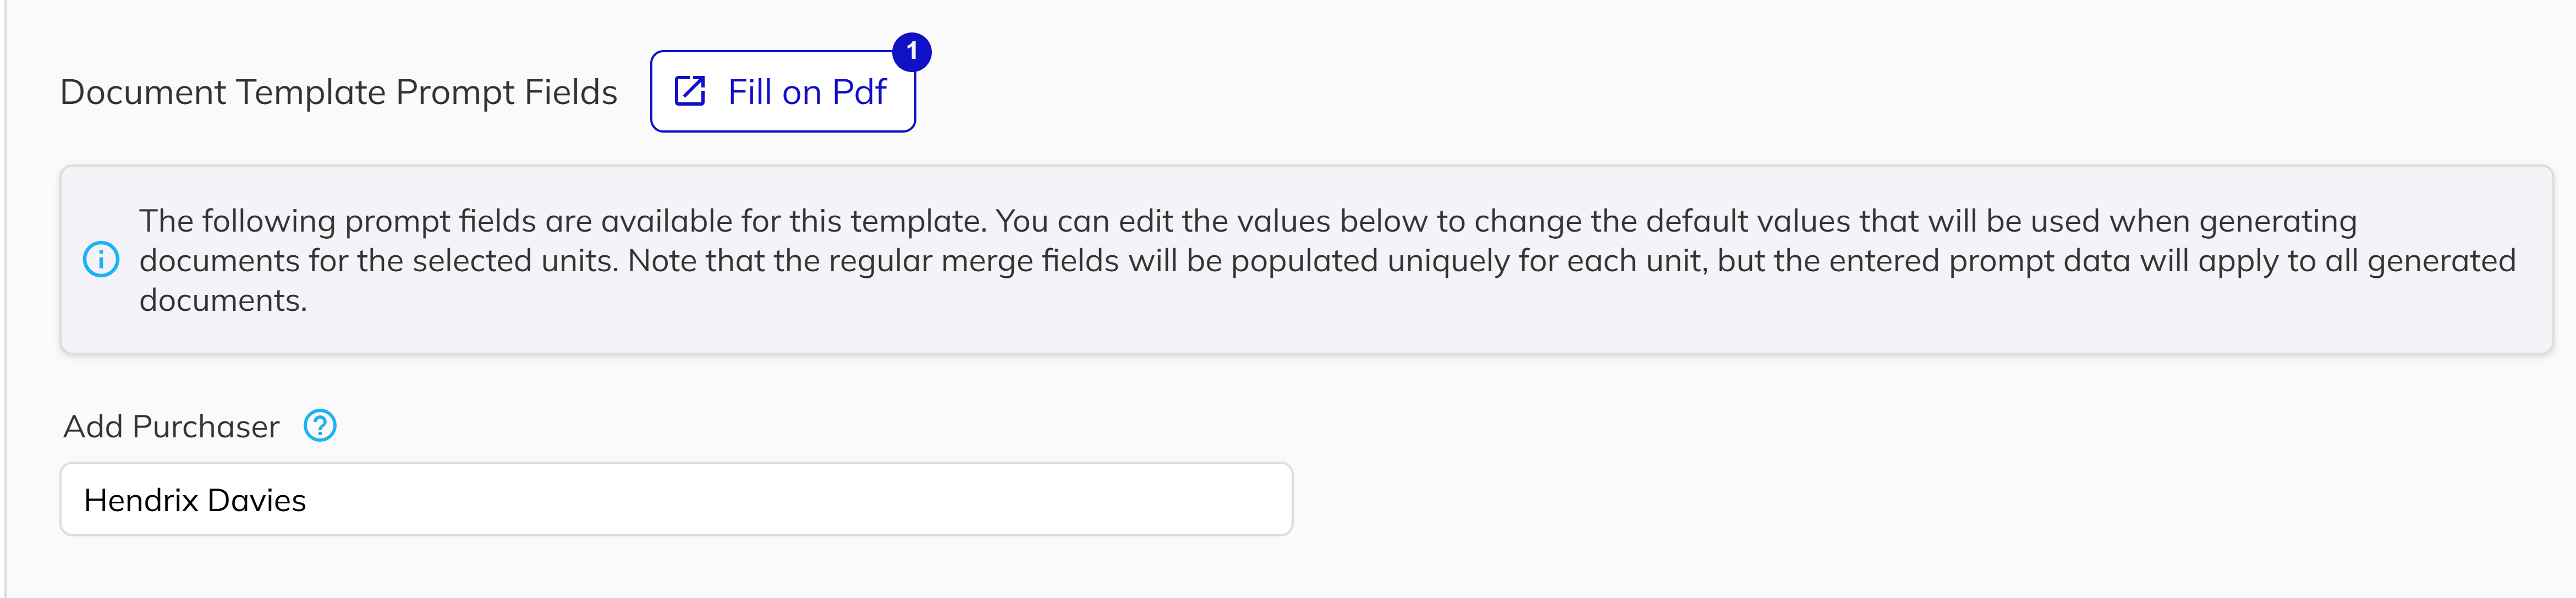
7. Fill in Document Template Prompt Fields (if applicable)
If your selected template contains prompt-type merge fields, a Document Template Prompt Fields section will appear. These are fields that require manual input — values you provide here will be applied uniformly across all generated documents.
You can also click the Fill on Pdf button to open a visual PDF editor where you can see and fill the prompt fields directly on the document.
A warning will display the count of any unfilled prompt fields. Ensure all required fields are completed before submitting.
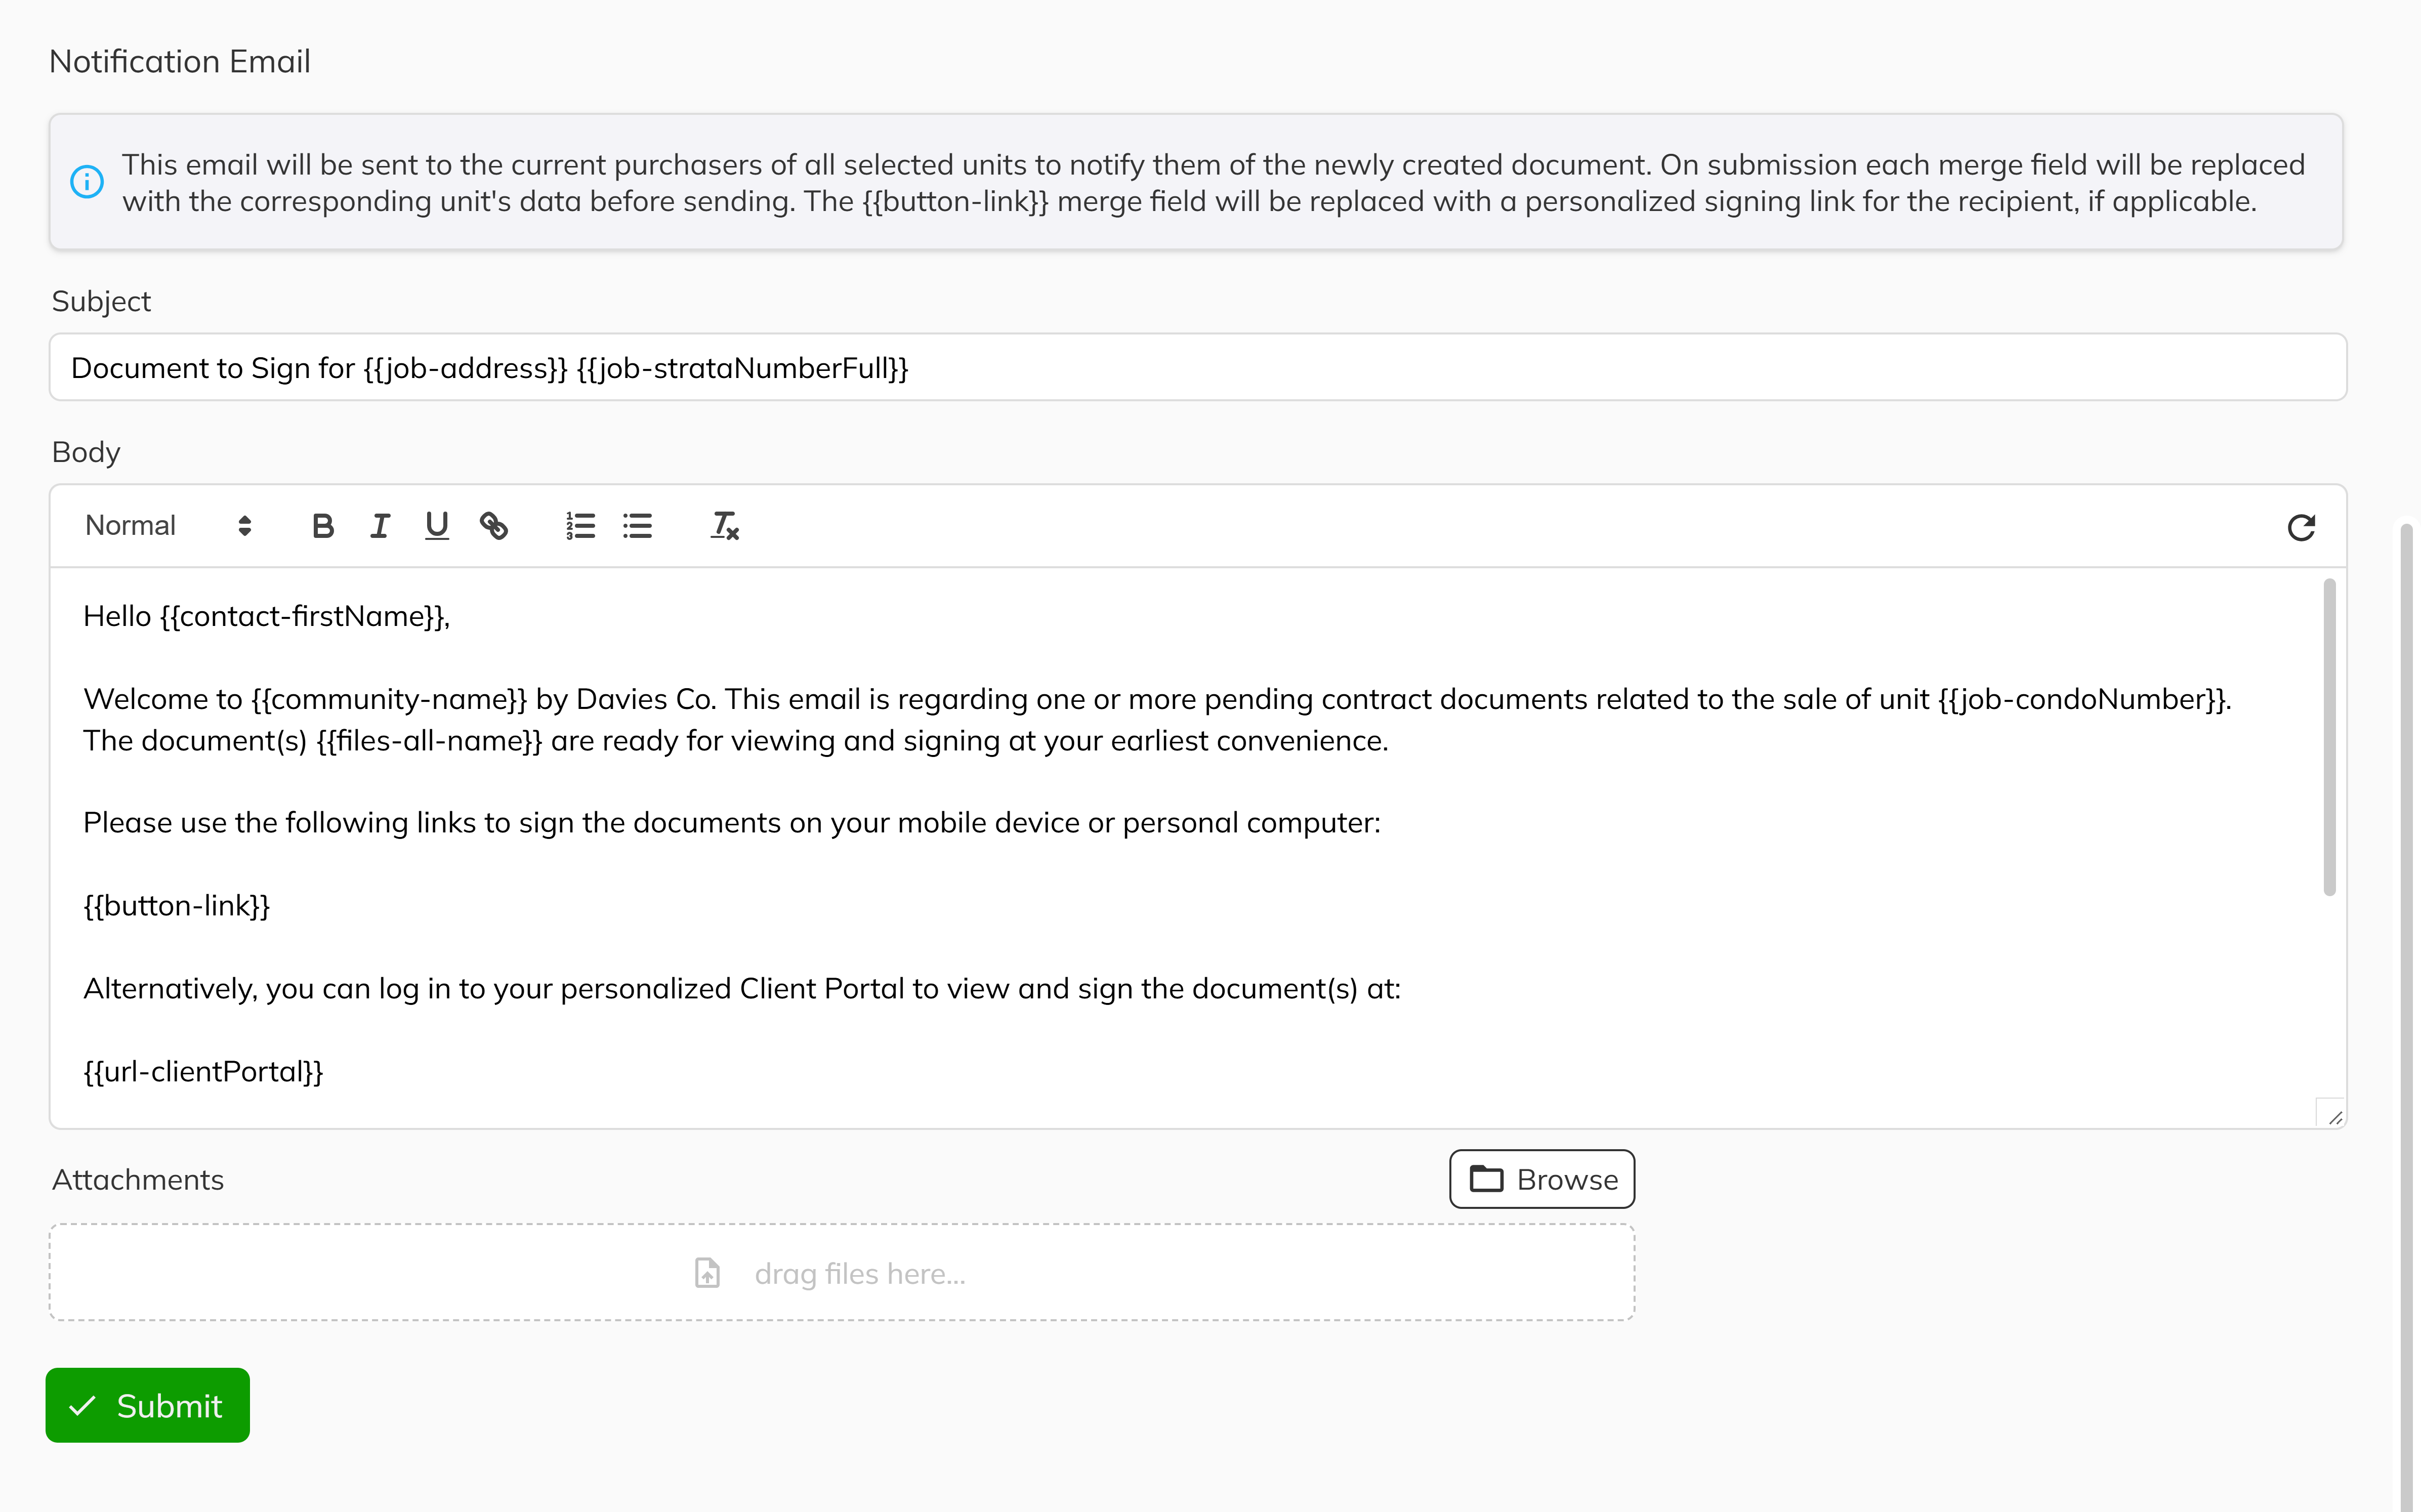
8. Compose the notification email (if sending)
If Send Signing Email is enabled, a Notification Email section appears with:
- Subject — the email subject line, pre-populated from your selected email template.
- Body — a rich text editor with the email content. The
{{button-link}}merge field is automatically replaced with each purchaser's personalized signing link. - Attachments — optionally attach additional files to the email.
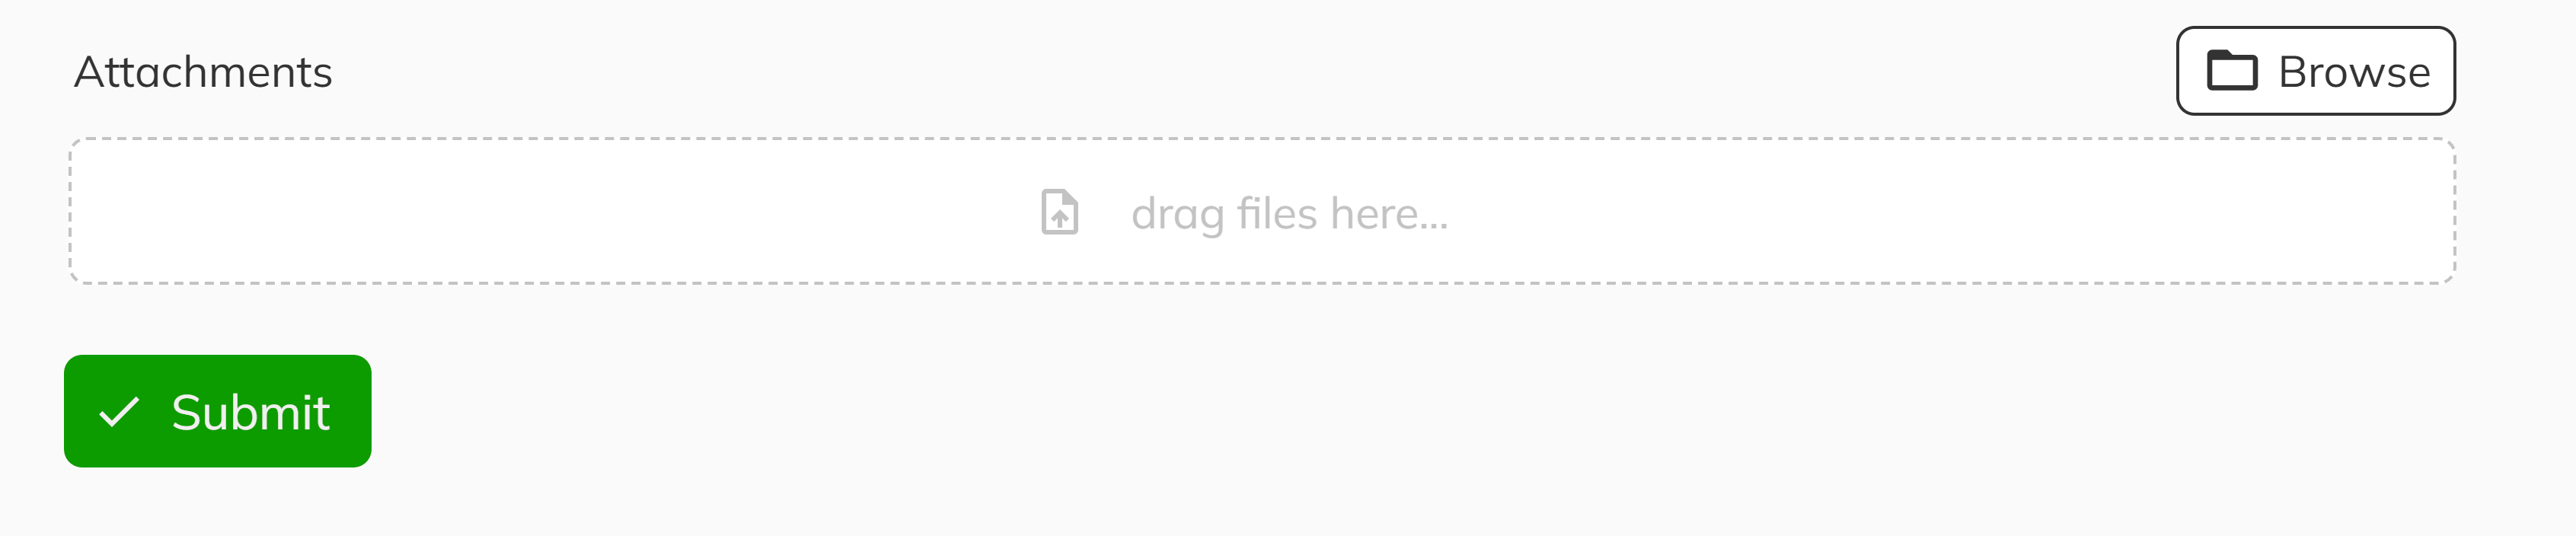
9. Submit and confirm
Click the Submit button at the bottom of the page. A confirmation dialog titled Confirm Mass Document Generation will appear, displaying pills for each selected unit. Review the list, then confirm to begin generating documents.
The system will merge your template with each unit's data, create the documents, and — if configured — share them and send signing emails to the purchasers.
Congratulations! You have successfully generated and shared a document across multiple units in a single action. Your selected purchasers will receive their documents — and signing emails if configured — without needing to visit each unit individually.
Tips & Best Practices
- Use the Reset button to clear all filters and start fresh if you need to change your selections.
- Preview your template before submitting by using the Fill on Pdf button to verify prompt fields are correctly placed.
- Double-check your unit selection in the confirmation dialog before confirming — mass generation cannot be easily undone.